
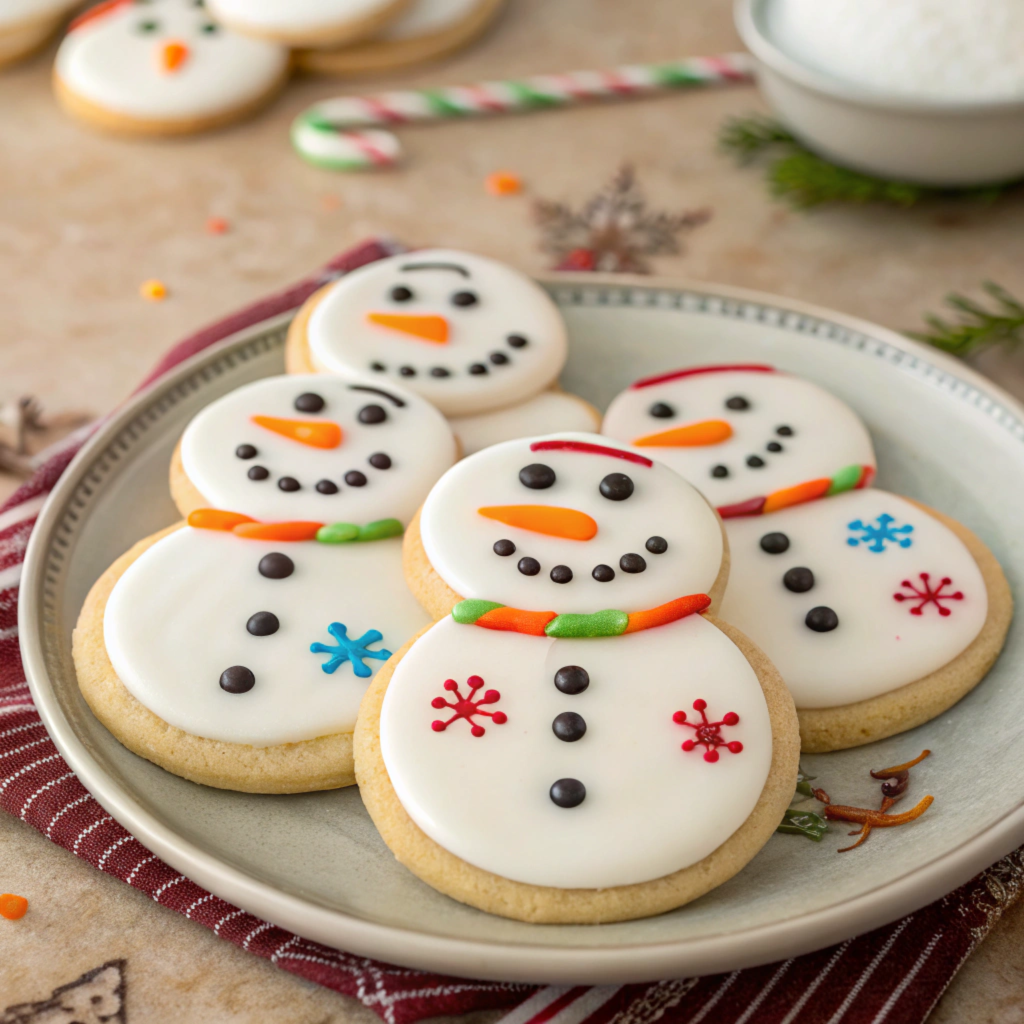
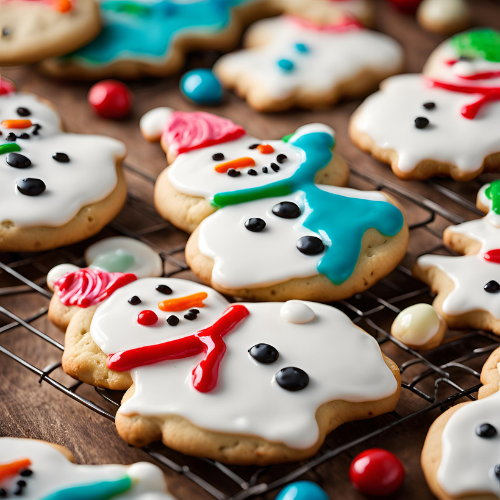
If you’re looking for a holiday treat that’s as fun to make as it is to eat, look no further than Melted Snowman Cookies! These adorable cookies are a creative way to bring the magic of winter indoors while spending quality time with your loved ones. Perfect for holiday parties, baking with kids, or as a whimsical gift, these cookies are sure to melt hearts as easily as they melt in your mouth.
Why Melted Snowman Cookies Are a Must-Try
This recipe is ideal for bakers of all skill levels. Whether you’re a seasoned pro or a novice in the kitchen, the simple steps and delightful outcome make Melted Snowman Cookies a guaranteed hit. They’re also highly customizable, allowing you to add your unique touch to each cookie. Plus, who doesn’t love a good excuse to play with icing and candy?
Ingredients for Melted Snowman Cookies
Here’s what you’ll need to create these festive treats:
- Sugar cookies (store-bought or homemade)
- White icing or royal icing
- Large marshmallows
- Black decorating gel or edible marker
- Orange candy or icing for the nose
- Mini chocolate chips or candy for buttons
- Assorted colored icing for scarves and other decorations
Kitchen Equipment Needed
Before you dive in, make sure you have the following tools on hand:
- Baking sheet
- Parchment paper
- Cooling rack
- Mixing bowl (if making icing from scratch)
- Spatula or knife for spreading icing
- Piping bags or plastic bags with a small cut tip for decorating
- Toothpicks (optional, for detailed icing work)
How to Make Melted Snowman Cookies
Step 1: Bake or Buy Your Sugar Cookies
If you’re short on time, store-bought sugar cookies work perfectly for this recipe. However, if you prefer the homemade touch, bake a batch of your favorite sugar cookie recipe. Aim for round shapes to resemble the snowman’s melted puddle. Allow the cookies to cool completely before decorating.
Step 2: Prepare the Base Icing
Using white icing or royal icing, spread a generous amount over the surface of each cookie. Don’t worry about making it perfectly even; the irregular edges mimic the appearance of melting snow.
Step 3: Create the Snowman’s Head
Place a large marshmallow slightly off-center on each cookie to represent the snowman’s head. Press down gently to secure it in place.
Step 4: Add Facial Features and Details
Using black decorating gel or an edible marker, draw eyes and a mouth on the marshmallow. For the nose, use a small dab of orange icing or attach a tiny orange candy.
Step 5: Decorate the Snowman’s Body
Add mini chocolate chips or small candies as buttons below the marshmallow. Use colorful icing to draw scarves, hats, or arms to give each snowman a unique personality.
Step 6: Let the Icing Set
Allow the cookies to sit for about 30 minutes, or until the icing hardens slightly. This makes them easier to handle and ensures the decorations stay in place.
Tips and Tricks
- Shortcut: If you’re in a hurry, use pre-made icing tubes or pens for decorating.
- Flavor Variations: Try adding a hint of almond or peppermint extract to the icing for a festive twist.
- Texture Swap: Use gingerbread cookies instead of sugar cookies for a spiced alternative.
- Dietary Adaptations: Substitute gluten-free sugar cookies and icing to accommodate dietary restrictions.
How to Store Melted Snowman Cookies
Store any leftover cookies in an airtight container at room temperature for up to 5 days. To keep the decorations intact, avoid stacking the cookies. If you’re making them in advance, consider freezing the undecorated cookies and adding the icing and decorations closer to serving time.
Pairing Suggestions
Serve Melted Snowman Cookies with a cup of hot cocoa, warm apple cider, or a glass of cold milk. For adults, pairing them with a spiced latte or mulled wine adds a touch of sophistication.
Frequently Asked Questions
Can I use different types of cookies?
Absolutely! While sugar cookies are traditional, you can use any cookie base you like. Shortbread and gingerbread work particularly well.
How far in advance can I make these cookies?
The cookies can be baked up to a week in advance and stored in an airtight container. Add the decorations a day or two before serving for the best appearance.
Can kids help with this recipe?
Definitely! Decorating Melted Snowman Cookies is a fun activity for kids. Just supervise younger children when using decorating gels or small candies.
What if I don’t have piping bags?
No problem! Use a resealable plastic bag and snip a small corner to create a makeshift piping bag. You can also use a toothpick for finer details.
A Final Word on Melted Snowman Cookies
Melted Snowman Cookies are more than just a dessert; they’re a conversation piece and a chance to unleash your creativity in the kitchen. Whether you’re hosting a holiday gathering or looking for a rainy-day activity, these cookies are sure to bring joy to everyone involved.
If you enjoyed this recipe, don’t forget to share it with your friends and family. Subscribe to our blog for more delightful recipes and festive inspiration. Happy baking!

Melted Snowman Cookies
Equipment
- Baking sheet
- Parchment paper
- Cooling rack
- Mixing bowl (if making icing from scratch)
- Spatula or knife for spreading icing
- Piping bags or plastic bags with a small cut tip for decorating
- Toothpicks (optional, for detailed icing work)
Ingredients
- Sugar cookies (store-bought or homemade)
- White icing or royal icing
- Large marshmallows
- Black decorating gel or edible marker
- Orange candy or icing for the nose
- Mini chocolate chips or candy for buttons
- Assorted colored icing for scarves and other decorations