
Introduction
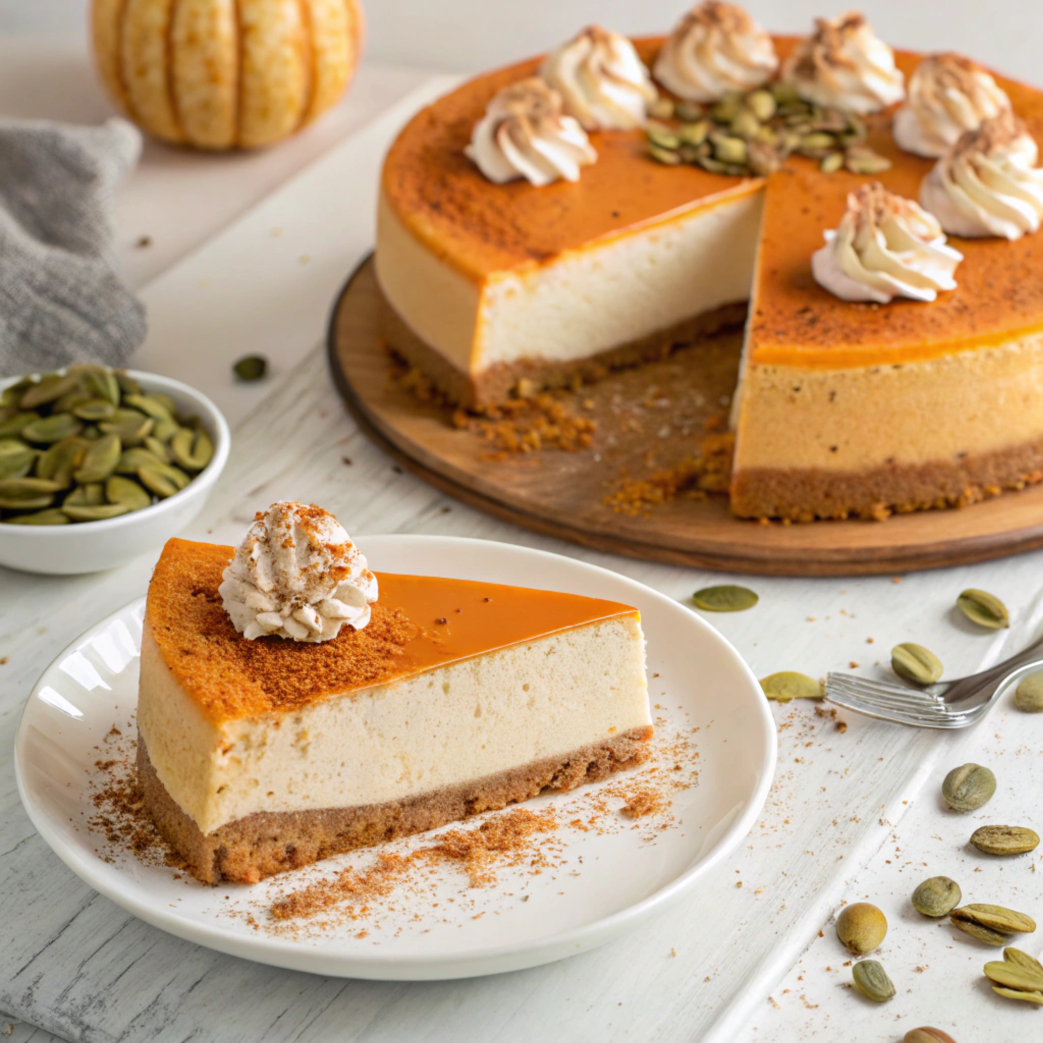
As a mom, I know how busy life can get, especially during the fall season when there’s so much to do. But there’s something truly magical about taking a moment to slow down and bake something special for your loved ones. This pumpkin cheesecake is my go-to dessert when I want to bring a little extra warmth and love to the table. It’s creamy, spiced just right, and feels like a cozy hug on a plate.
Whether you’re hosting family for Thanksgiving, treating the kids to a sweet surprise, or simply indulging in a little self-care baking, this recipe is a must-try. Let’s get started, mama!
Who This Recipe is For and Why It’s Amazing
This recipe is for every woman who wants to bring a little joy and comfort to her family. It’s for the moms who love the classics but want to add their own twist. Pumpkin cheesecake is the perfect combination of tangy cream cheese and warm, spiced pumpkin—it’s like the best of both worlds. Plus, it’s easy enough to make even with little ones running around. Trust me, it’s worth the effort when you see those happy smiles around the table.
Ingredients
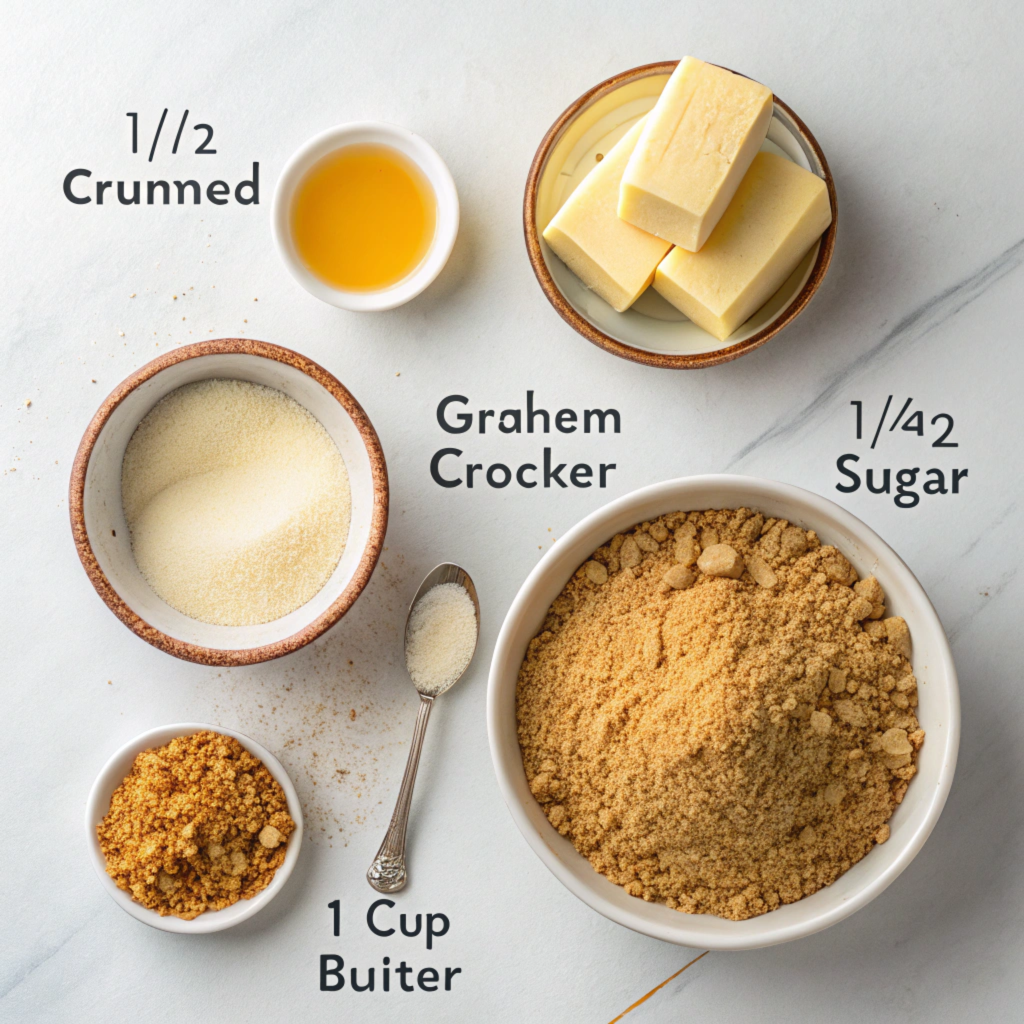
For the Crust:
- 1 1/2 cups graham cracker crumbs
- 1/4 cup granulated sugar
- 1/2 cup unsalted butter, melted
For the Cheesecake Filling:
- 3 (8-ounce) packages cream cheese, softened
- 1 cup granulated sugar
- 1 cup canned pumpkin puree (not pumpkin pie filling)
- 3 large eggs
- 1 teaspoon vanilla extract
- 1 teaspoon ground cinnamon
- 1/2 teaspoon ground nutmeg
- 1/4 teaspoon ground cloves
- 2 tablespoons all-purpose flour
- 1/4 cup sour cream
Kitchen Equipment Needed
- 9-inch springform pan
- Mixing bowls (various sizes)
- Electric mixer (stand or hand-held)
- Rubber spatula
- Measuring cups and spoons
- Cooling rack
- Roasting pan (for the water bath)
Step-by-Step Instructions
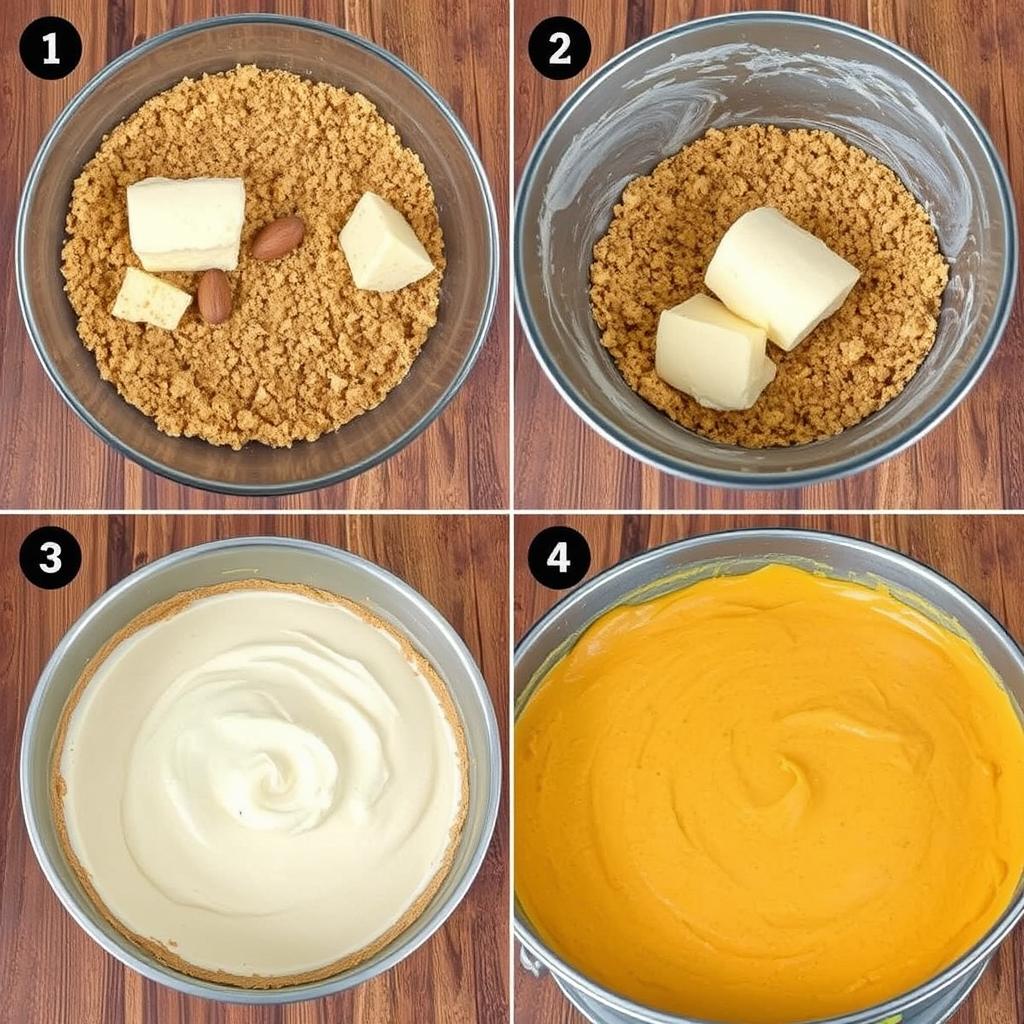
Step 1: Prepare the Crust
- Preheat your oven to 350°F (175°C).
- In a medium bowl, mix the graham cracker crumbs, sugar, and melted butter. It should feel like damp sand in your hands.
- Press the crust mixture firmly into the bottom of the springform pan. If you’re like me, you might use the bottom of a measuring cup to make it nice and even.
- Bake for 10 minutes, then let it cool while you work on the filling.
Step 2: Make the Cheesecake Filling
- In a large mixing bowl, beat the cream cheese and sugar together until smooth and creamy. It should look like a fluffy cloud.
- Add the pumpkin puree, eggs (one at a time), and vanilla extract. Mix gently so everything blends beautifully.
- Sprinkle in the cinnamon, nutmeg, cloves, and flour. Stir until just combined—don’t overdo it.
- Finally, fold in the sour cream for that velvety finish.
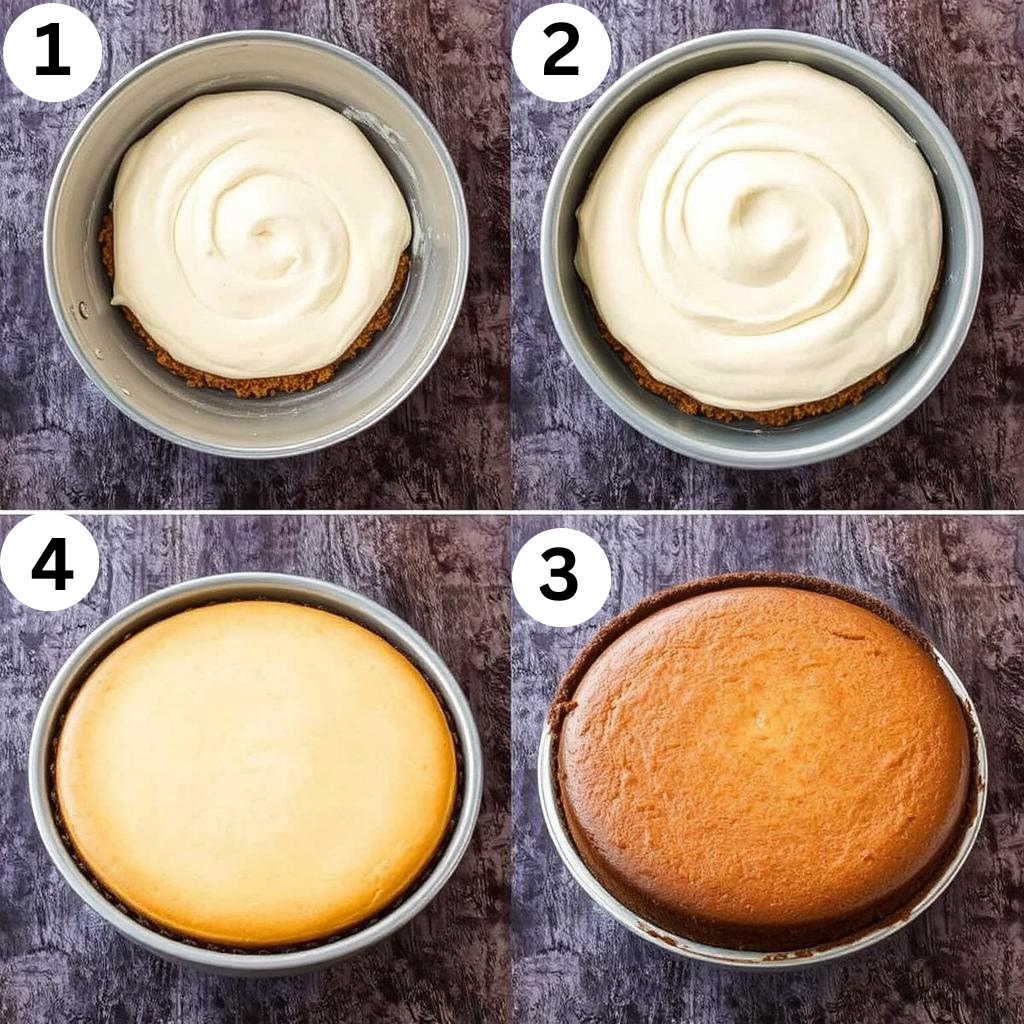
Step 3: Assemble and Bake
- Pour the filling over the cooled crust in the springform pan.
- Place the pan in a larger roasting pan. Fill the roasting pan with hot water, about halfway up the sides of the springform pan. This little trick helps your cheesecake bake evenly and prevents cracks.
- Bake for 60-70 minutes. The edges should look set, but the center should still jiggle a bit—like a soft pillow.
- Once done, turn off the oven and let the cheesecake sit inside with the door slightly open for an hour. It’s like letting it take a nap to relax.
Step 4: Chill and Serve
- Carefully remove the cheesecake from the oven and water bath. Run a knife around the edges to make sure it doesn’t stick to the pan.
- Cover and refrigerate for at least 4 hours, or even better, overnight. Trust me, the wait is worth it.
- When you’re ready to serve, remove the springform pan, slice, and enjoy every creamy, spiced bite!
Tips and Tricks for Perfect Pumpkin Cheesecake
- Room Temperature Ingredients: Make sure your cream cheese, eggs, and sour cream are at room temperature. It’s a little extra step, but it makes a world of difference.
- Don’t Overmix: Overmixing can add air bubbles that might lead to cracks. Keep it gentle and simple.
- Water Bath Magic: The water bath helps keep the texture smooth and prevents cracking. Think of it as a warm hug for your cheesecake.
- Cooling Slowly: Don’t rush this part! A slow cool-down prevents sudden temperature changes that might crack the top.
Variations and Recipe Swaps
- Switch Up the Crust: Gingersnaps or crushed Oreos make amazing alternatives to the graham cracker crust.
- Spice It Your Way: Add a pinch of allspice or cardamom if you want to make it your own.
- Toppings Galore: Whipped cream, caramel drizzle, or candied pecans take this dessert to the next level.
- Gluten-Free Friendly: Use gluten-free graham crackers to make this recipe celiac-friendly.
Storing Leftovers
- Keep any leftover cheesecake in an airtight container in the fridge for up to 5 days. Perfect for sneaking a slice after bedtime!
- To freeze, wrap slices in plastic wrap and then foil. They’ll keep in the freezer for up to 2 months. Just thaw in the fridge overnight when the craving strikes.
Perfect Pairings: Food and Drinks
- Drinks: Enjoy a slice with a warm cup of spiced tea, hot cocoa, or even a pumpkin spice latte.
- Food: Pair it with a simple salad or savory dish to balance out the sweetness.
Frequently Asked Questions (FAQs)
1. Can I make this cheesecake ahead of time?
Yes! In fact, it’s even better after chilling overnight. Make it a day or two ahead, and you’re all set.
2. Do I have to use a water bath?
While it’s not mandatory, it really helps with even baking and prevents cracks. If you skip it, try placing a pan of water on the rack below your cheesecake.
3. How can I avoid cracks?
Use room temperature ingredients, don’t overmix, and bake with a water bath. Cooling gradually also helps.
4. Can I use fresh pumpkin instead of canned?
Absolutely! Just make sure it’s well-drained to avoid extra moisture in your batter.
5. How do I know when it’s done baking?
The edges should look firm, but the center will still jiggle slightly. It will set fully as it cools.
Conclusion
Pumpkin cheesecake is more than just a dessert—it’s a way to show your family and friends how much you care. Whether you’re baking with your little helpers or sneaking in some quiet kitchen time for yourself, this recipe is sure to become a seasonal favorite. Don’t forget to share this recipe with your fellow moms and subscribe to the blog for more heartfelt recipes.
Happy baking, mama!

The Ultimate Pumpkin Cheesecake Recipe: A Fall Dessert to Savor
Equipment
- 9-inch springform pan
- Mixing bowls (various sizes)
- Electric mixer (stand or hand-held)
- Rubber spatula
- Measuring cups and spoons
- Cooling rack
- Roasting pan (for the water bath)
Ingredients
- 1 1/2 cups graham cracker crumbs
- 1/4 cup granulated sugar
- 1/2 cup unsalted butter, melted
For the Cheesecake Filling:
- 3 (8-ounce) packages cream cheese, softened
- 1 cup granulated sugar
- 1 cup canned pumpkin puree (not pumpkin pie filling)
- 3 large eggs
- 1 teaspoon vanilla extract
- 1 teaspoon ground cinnamon
- 1/2 teaspoon ground nutmeg
- 1/4 teaspoon ground cloves
- 2 tablespoons all-purpose flour
- 1/4 cup sour cream
Notes
Step-by-Step Instructions
Step 1: Prepare the Crust
- Preheat your oven to 350°F (175°C).
- In a medium bowl, mix the graham cracker crumbs, sugar, and melted butter. It should feel like damp sand in your hands.
- Press the crust mixture firmly into the bottom of the springform pan. If you’re like me, you might use the bottom of a measuring cup to make it nice and even.
- Bake for 10 minutes, then let it cool while you work on the filling.
Step 2: Make the Cheesecake Filling
- In a large mixing bowl, beat the cream cheese and sugar together until smooth and creamy. It should look like a fluffy cloud.
- Add the pumpkin puree, eggs (one at a time), and vanilla extract. Mix gently so everything blends beautifully.
- Sprinkle in the cinnamon, nutmeg, cloves, and flour. Stir until just combined—don’t overdo it.
- Finally, fold in the sour cream for that velvety finish.
Step 3: Assemble and Bake
- Pour the filling over the cooled crust in the springform pan.
- Place the pan in a larger roasting pan. Fill the roasting pan with hot water, about halfway up the sides of the springform pan. This little trick helps your cheesecake bake evenly and prevents cracks.
- Bake for 60-70 minutes. The edges should look set, but the center should still jiggle a bit—like a soft pillow.
- Once done, turn off the oven and let the cheesecake sit inside with the door slightly open for an hour. It’s like letting it take a nap to relax.
Step 4: Chill and Serve
- Carefully remove the cheesecake from the oven and water bath. Run a knife around the edges to make sure it doesn’t stick to the pan.
- Cover and refrigerate for at least 4 hours, or even better, overnight. Trust me, the wait is worth it.
- When you’re ready to serve, remove the springform pan, slice, and enjoy every creamy, spiced bite!
Tips and Tricks for Perfect Pumpkin Cheesecake
- Room Temperature Ingredients: Make sure your cream cheese, eggs, and sour cream are at room temperature. It’s a little extra step, but it makes a world of difference.
- Don’t Overmix: Overmixing can add air bubbles that might lead to cracks. Keep it gentle and simple.
- Water Bath Magic: The water bath helps keep the texture smooth and prevents cracking. Think of it as a warm hug for your cheesecake.
- Cooling Slowly: Don’t rush this part! A slow cool-down prevents sudden temperature changes that might crack the top.
Variations and Recipe Swaps
- Switch Up the Crust: Gingersnaps or crushed Oreos make amazing alternatives to the graham cracker crust.
- Spice It Your Way: Add a pinch of allspice or cardamom if you want to make it your own.
- Toppings Galore: Whipped cream, caramel drizzle, or candied pecans take this dessert to the next level.
- Gluten-Free Friendly: Use gluten-free graham crackers to make this recipe celiac-friendly.