
Let’s talk about one of the easiest and most nostalgic desserts ever: Rice Krispie Treats. As a mom, I know the joy of having a quick, no-fail recipe that brings smiles to everyone at home. Whether you’re whipping these up for an after-school snack, a birthday party, or just because, these treats are a must-have in any mom’s kitchen arsenal. They’re sweet, simple, and perfect for busy days when you want to make something special without spending hours in the kitchen. Let’s get started, shall we?
you can know more about Butter Swirl Cookies: A Wholesome Treat Straight from the Heart
What Are Rice Krispie Treats?

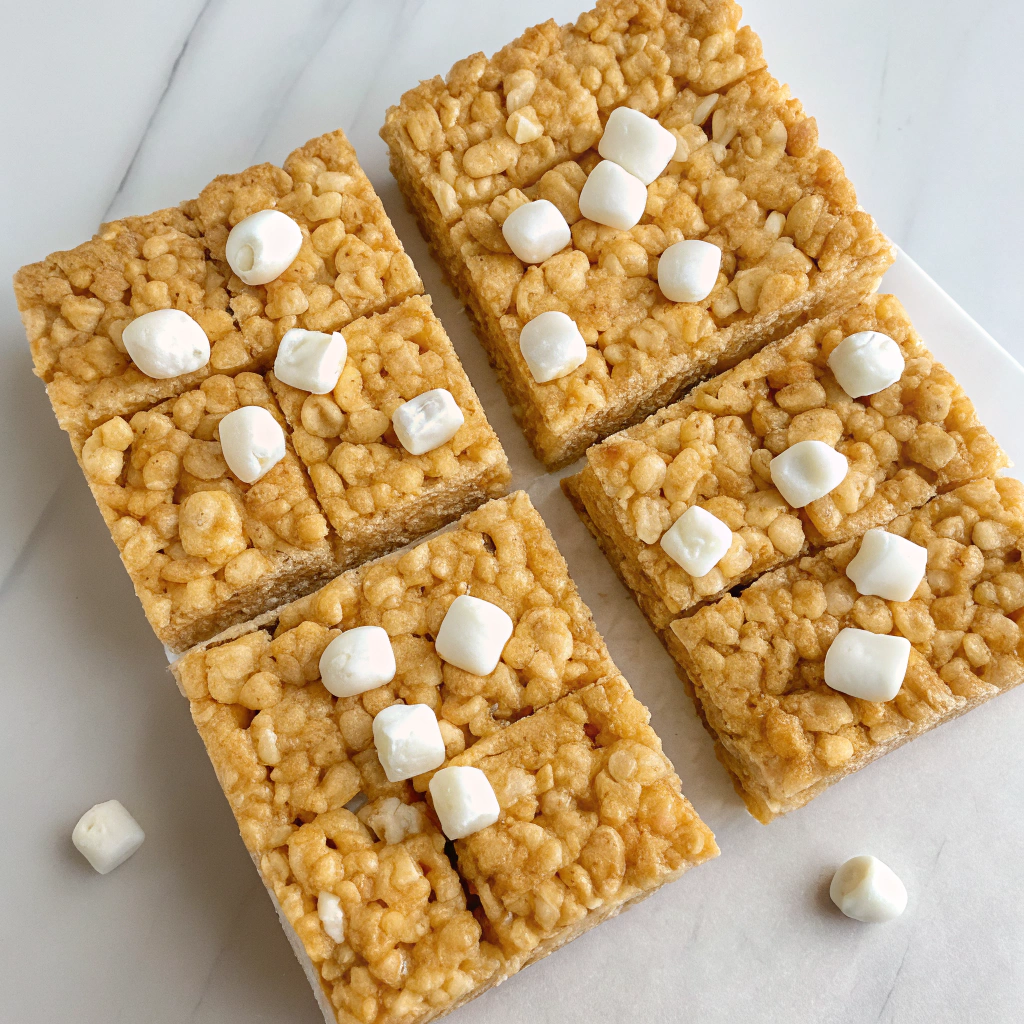
Rice Krispie Treats are a classic dessert made by combining crisped rice cereal, melted marshmallows, and butter. They’re the kind of treat that brings back warm childhood memories, and now as a mom, I love making them with my kids. They first became popular in the 1940s, and since then, they’ve been a staple in homes, bake sales, and celebrations everywhere. They’re easy, fun, and the perfect sweet treat for the whole family.
Why You’ll Love This Recipe
- Quick & Easy: Moms, we know time is precious. This recipe takes just 10 minutes to make.
- Kid-Approved: Soft, gooey, and fun to eat—it’s always a hit with little ones.
- Customizable: Whether your kids love sprinkles or chocolate, you can easily make it their own.
Ingredients Needed
Here’s what you’ll need for this simple and sweet recipe:
- Rice Krispies Cereal: The star ingredient for that crunchy texture.
- Mini Marshmallows: They melt into a dreamy, gooey base.
- Butter: Adds richness and makes everything come together beautifully.
Optional Add-Ins:
- A splash of vanilla extract for extra flavor.
- Chocolate chips or colorful sprinkles to make it fun.
- A dollop of peanut butter for a nutty twist.
Equipment Needed
- Large saucepan
- Wooden spoon or silicone spatula
- 9×13-inch baking dish
- Parchment paper or non-stick spray
How to Make Rice Krispie Treats
- Prep Your Pan: Line your baking dish with parchment paper or lightly grease it with non-stick spray.
- Melt the Butter: In a large saucepan, melt the butter over low heat. (Pro tip: Let the kids help by handing you ingredients!)
- Add Marshmallows: Stir in the marshmallows and keep stirring until they’re completely melted and smooth.
- Combine with Cereal: Remove the pan from heat and quickly fold in the Rice Krispies cereal. Stir until every piece is coated in that gooey marshmallow goodness.
- Press into Pan: Pour the mixture into your prepared dish. Use a greased spatula or even your hands (kids love this part!) to press it down evenly.
- Let It Set: Let the treats cool at room temperature for about 30 minutes, then slice them into squares.
Tips for Perfect Rice Krispie Treats
- Low Heat is Key: Melting the marshmallows slowly ensures a soft, gooey texture.
- Grease Your Tools: Lightly grease your spatula and even your hands to avoid sticking.
- Fresh Ingredients: Always use fresh marshmallows and cereal for the best results.
Variations on Rice Krispie Treats
- Chocolate Drizzle: Melt some chocolate and drizzle it over the top for an extra indulgent touch.
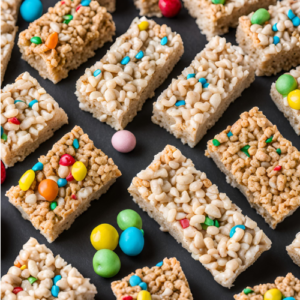
- Holiday Fun: Add themed sprinkles or candy for holidays like Christmas or Halloween.
- Nut Butter Bliss: Stir in a tablespoon or two of peanut or almond butter for a richer flavor.
- Healthy Twist: Use brown rice cereal and substitute marshmallows with honey and almond butter for a lighter option.
Storing and Freezing Leftovers
- Storing: Keep your treats in an airtight container at room temperature for up to three days. Trust me, though, they’ll be gone before that!
- Freezing: Wrap each square individually in plastic wrap, then store in a freezer-safe bag for up to six weeks. Just thaw at room temperature when you’re ready to enjoy.
Serving Suggestions
Rice Krispie Treats are perfect with a glass of milk or even a cup of coffee for moms needing a pick-me-up. Serve them at:
- Birthday parties
- Playdates
- Family movie nights
Why Kids and Adults Both Love Them
Kids love these treats for their sweet, gooey texture and fun crunch, while we moms love them for their simplicity and nostalgia. It’s a dessert that brings the whole family together, one square at a time.
FAQs About Rice Krispie Treats
- Can I use marshmallow fluff instead of mini marshmallows? Yes, marshmallow fluff works well, but you might need to adjust the quantity slightly.
- Why are my treats too hard? Overheating the marshmallows or pressing the mixture too firmly into the pan can make them hard. Be gentle and use low heat.
- Can I make these vegan? Absolutely! Use vegan marshmallows and a plant-based butter substitute for a dairy-free version.
- Can I add food coloring? Yes, stir in a few drops of food coloring to the melted marshmallow mixture for a fun pop of color.
- How can I make them less sweet? Reduce the amount of marshmallows slightly and add a pinch of salt to balance the sweetness.
Conclusion
As a mom, there’s nothing better than a recipe that’s easy, fun, and brings smiles to everyone at home. Rice Krispie Treats are exactly that! They’re a go-to dessert in our house, and I hope they become a favorite in yours too. Give them a try, and don’t be afraid to get creative with add-ins and decorations.
If you loved this recipe, share it with your friends and family, and don’t forget to subscribe to my blog for more mom-approved recipes that make life a little sweeter. Happy cooking!
The Best Homemade Rice Krispie Treats Recipe
Equipment
- Large saucepan:
- Wooden spoon or silicone spatula
- 9×13-inch baking dish
- Parchment paper or non-stick spray
Ingredients
- Rice Krispies Cereal: The star ingredient for that crunchy texture.
- Mini Marshmallows: They melt into a dreamy, gooey base.
- Butter: Adds richness and makes everything come together beautifully.
Optional Add-Ins:
- A splash of vanilla extract for extra flavor.
- Chocolate chips or colorful sprinkles to make it fun.
- A dollop of peanut butter for a nutty twist.
Notes
How to Make Rice Krispie Treats
- Prep Your Pan: Line your baking dish with parchment paper or lightly grease it with non-stick spray.
- Melt the Butter: In a large saucepan, melt the butter over low heat. (Pro tip: Let the kids help by handing you ingredients!)
- Add Marshmallows: Stir in the marshmallows and keep stirring until they’re completely melted and smooth.
- Combine with Cereal: Remove the pan from heat and quickly fold in the Rice Krispies cereal. Stir until every piece is coated in that gooey marshmallow goodness.
- Press into Pan: Pour the mixture into your prepared dish. Use a greased spatula or even your hands (kids love this part!) to press it down evenly.
- Let It Set: Let the treats cool at room temperature for about 30 minutes, then slice them into squares.
Tips for Perfect Rice Krispie Treats
- Low Heat is Key: Melting the marshmallows slowly ensures a soft, gooey texture.
- Grease Your Tools: Lightly grease your spatula and even your hands to avoid sticking.
- Fresh Ingredients: Always use fresh marshmallows and cereal for the best results.
Variations on Rice Krispie Treats
- Chocolate Drizzle: Melt some chocolate and drizzle it over the top for an extra indulgent touch.
- Holiday Fun: Add themed sprinkles or candy for holidays like Christmas or Halloween.
- Nut Butter Bliss: Stir in a tablespoon or two of peanut or almond butter for a richer flavor.
- Healthy Twist: Use brown rice cereal and substitute marshmallows with honey and almond butter for a lighter option.
Storing and Freezing Leftovers
- Storing: Keep your treats in an airtight container at room temperature for up to three days. Trust me, though, they’ll be gone before that!
- Freezing: Wrap each square individually in plastic wrap, then store in a freezer-safe bag for up to six weeks. Just thaw at room temperature when you’re ready to enjoy.