
Introduction
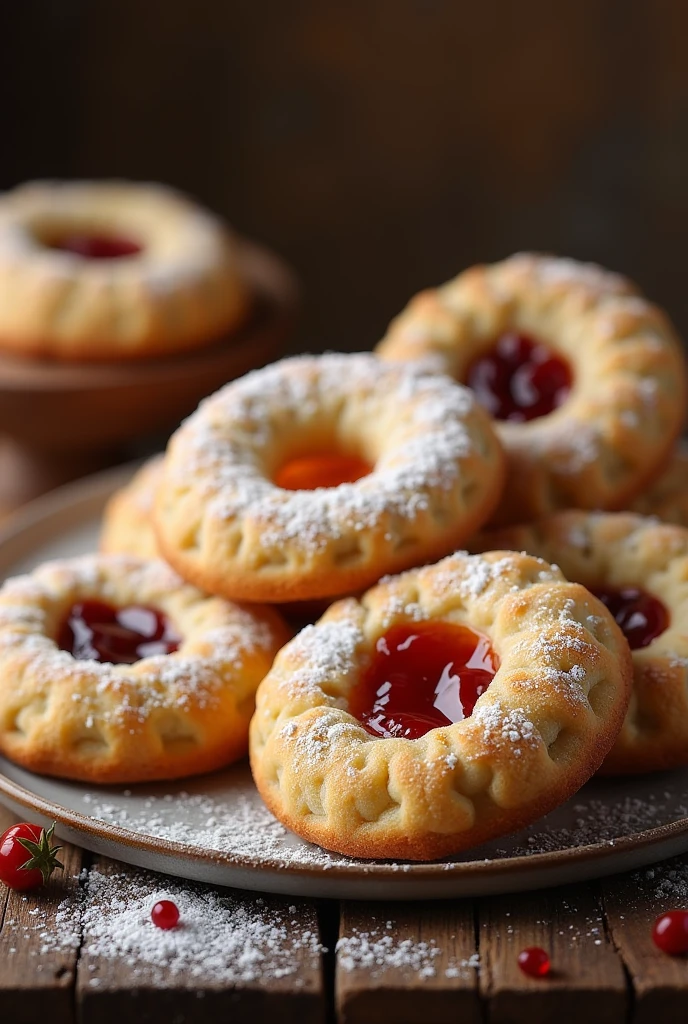
Every time I bake these Polish cookies, it feels like a warm hug from my kitchen to my family. Growing up, these buttery little treasures were always a part of our celebrations—whether it was Christmas, a wedding, or just an afternoon tea with loved ones. My mother would carefully shape each cookie, her hands moving with the kind of love only a mother can give.
Now, as a mom myself, I cherish passing down this tradition to my own family. There’s something magical about watching my kids sneak bites of dough or proudly help cut out shapes. These cookies are more than a recipe—they’re a connection to the past, filled with love and joy.
Recipe Overview
- Prep Time: 15 minutes
- Chilling Time: 30 minutes
- Baking Time: 12-15 minutes
- Total Time: 1 hour
- Difficulty Level: Easy (perfect for little helpers!)
- Servings: About 2 dozen cookies
Ingredients
For the Cookie Dough:
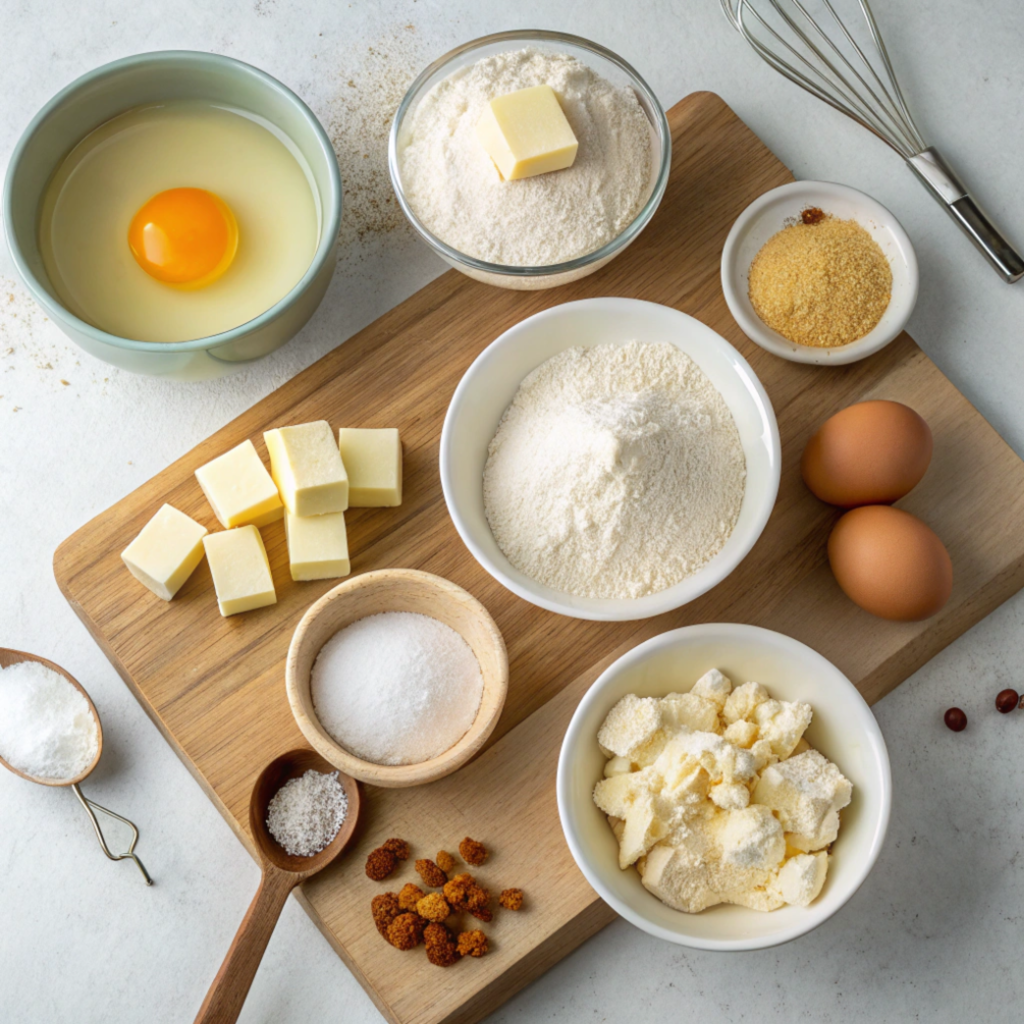
- 2 ¼ cups (280g) all-purpose flour
- ½ cup (100g) granulated sugar
- 1 cup (225g) unsalted butter, cold and cubed
- 1 large egg yolk
- 1 teaspoon vanilla extract
- ¼ teaspoon salt
For the Filling (optional):
- ½ cup fruit jam (we love raspberry or apricot in our home)
Garnish:
- Powdered sugar for a snowy, sweet touch
Substitutions & Notes:
- Gluten-free? A 1:1 gluten-free baking mix works wonders here.
- Almond extract adds a special nutty note if you’re feeling adventurous.
- The butter is key—use the best you can find for that melt-in-your-mouth texture.
Step-by-Step Instructions
Step 1: Make the Dough
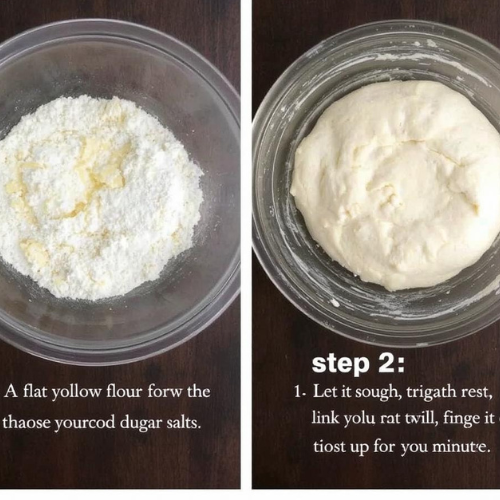
- In a big mixing bowl, combine flour, sugar, and salt.
- Add the cold butter, and with your fingertips (or a pastry cutter), work it in until the mixture looks like crumbs. It’s a little messy but oh-so-fun!
- Add the egg yolk and vanilla, then bring everything together gently until it forms a soft dough.
Step 2: Let It Rest
- Shape the dough into a flat disk, wrap it up in plastic, and let it chill in the fridge for 30 minutes. Trust me, this step makes all the difference!
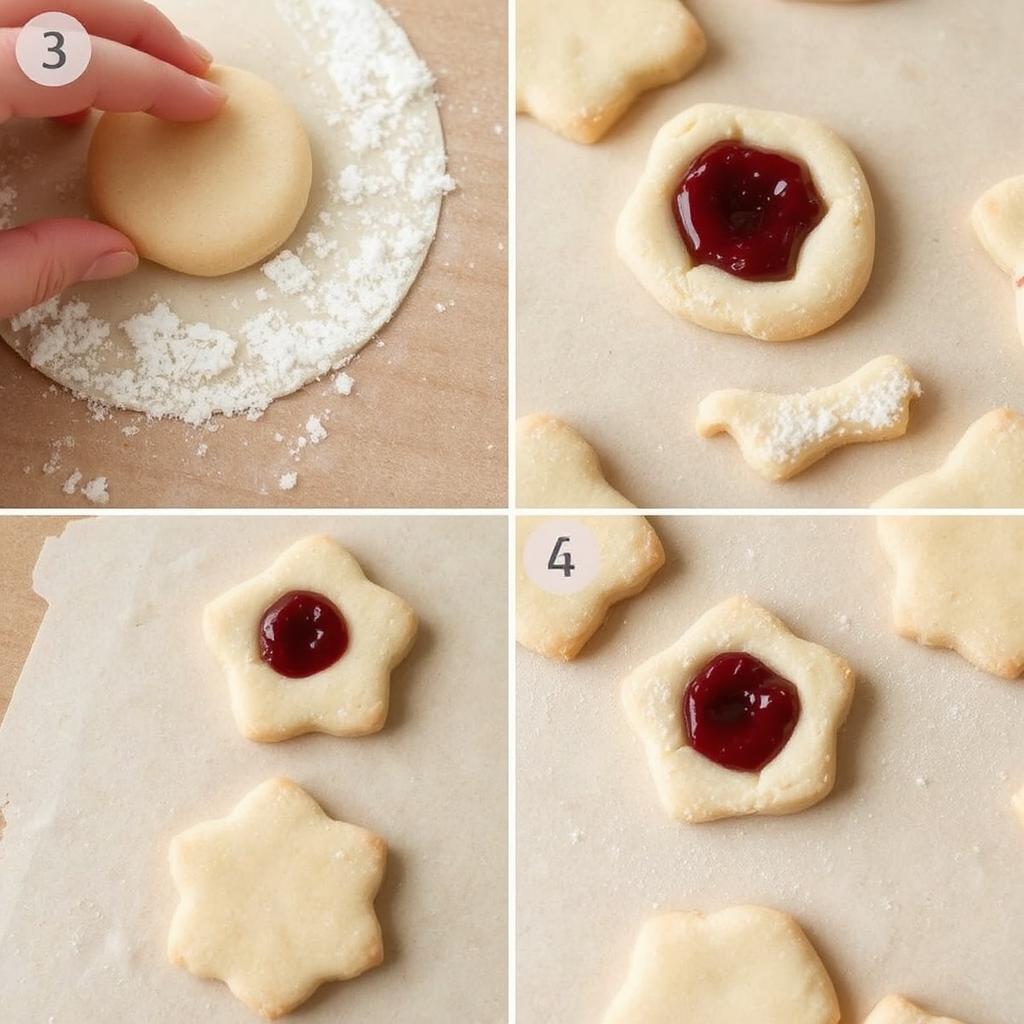
Step 3: Roll and Shape
- Preheat your oven to 350°F (175°C) and line your baking sheets with parchment paper.
- Roll out the dough on a lightly floured surface to about ¼-inch thickness. Let the kids pick their favorite cookie cutters to make shapes—it’s always a hit!
Step 4: Add the Jam (Optional)
- For jam-filled cookies, cut a small circle in the center of half your cookies. On the full ones, add a tiny dollop of jam, then gently press the cut-out piece on top.
Step 5: Bake and Cool
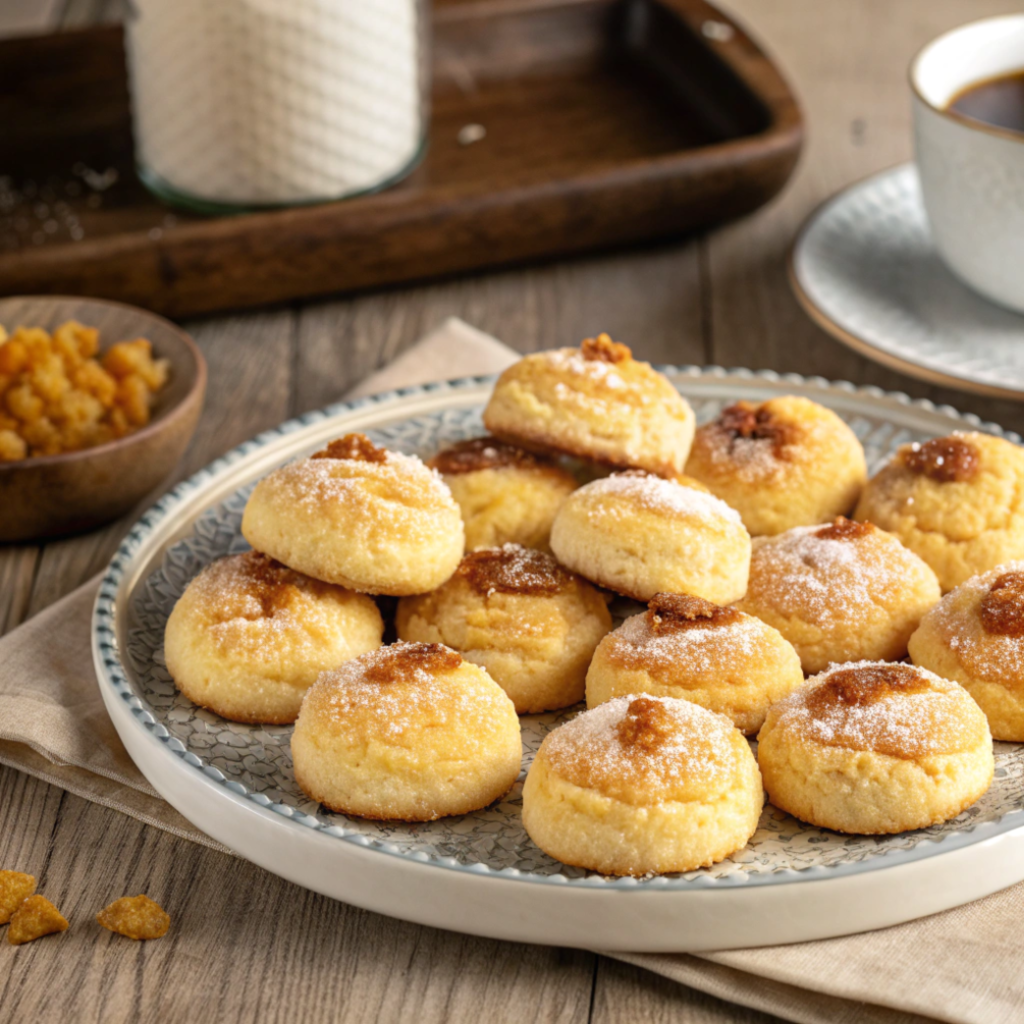
- Bake for 12-15 minutes, just until the edges turn golden. The smell will fill your home with happiness.
- Let the cookies cool on a wire rack before dusting them with powdered sugar.
Expert Tips & Variations
- Chill Is Key: Cold dough means no spreading and beautifully shaped cookies.
- Creative Fillings: Try Nutella, lemon curd, or even peanut butter for fun twists.
- Decorating Fun: Drizzle melted chocolate or add festive sprinkles for holidays.
Nutritional Information (Per Cookie)
- Calories: 120
- Carbohydrates: 15g
- Protein: 1g
- Fat: 6g
- Dietary Labels: Vegetarian
Storage & Reheating
- Storage: These cookies stay fresh in an airtight container at room temperature for up to 5 days (if they last that long!).
- Freezing: Bake ahead and freeze for up to 3 months. Thaw at room temperature for a quick treat.
- Reheating: They don’t need reheating, but if you like them warm, a few seconds in the microwave works.
FAQ
1. Can I make the dough ahead of time?
Yes! You can prepare the dough and keep it in the fridge for up to 2 days.
2. What’s the best jam for these cookies?
Raspberry and apricot are family favorites, but anything you love will work beautifully.
3. Why are my cookies not holding their shape?
Make sure the dough is properly chilled, and don’t skip that step—it’s a lifesaver for perfect cookies.
4. Can I involve my kids in making these?
Absolutely! Rolling the dough and cutting out shapes is so much fun for little ones. Plus, they’ll love tasting their creations.
These Polish cookies are a little piece of tradition I love sharing with my family, and now I’m sharing it with you. From my kitchen to yours, I hope they bring you as much joy as they bring us! 💕

Polish Cookies Recipe: A Taste of Home, Straight from My Heart
Ingredients
- 2 ¼ cups (280g) all-purpose flour
- ½ cup (100g) granulated sugar
- 1 cup (225g) unsalted butter, cold and cubed
- 1 large egg yolk
- 1 teaspoon vanilla extract
- ¼ teaspoon salt
For the Filling (optional):
- ½ cup fruit jam (we love raspberry or apricot in our home)
Garnish
- Powdered sugar for a snowy, sweet touch
Notes
Step-by-Step Instructions
Step 1: Make the Dough
- In a big mixing bowl, combine flour, sugar, and salt.
- Add the cold butter, and with your fingertips (or a pastry cutter), work it in until the mixture looks like crumbs. It’s a little messy but oh-so-fun!
- Add the egg yolk and vanilla, then bring everything together gently until it forms a soft dough.
Step 2: Let It Rest
- Shape the dough into a flat disk, wrap it up in plastic, and let it chill in the fridge for 30 minutes. Trust me, this step makes all the difference!
Step 3: Roll and Shape
- Preheat your oven to 350°F (175°C) and line your baking sheets with parchment paper.
- Roll out the dough on a lightly floured surface to about ¼-inch thickness. Let the kids pick their favorite cookie cutters to make shapes—it’s always a hit!
Step 4: Add the Jam (Optional)
- For jam-filled cookies, cut a small circle in the center of half your cookies. On the full ones, add a tiny dollop of jam, then gently press the cut-out piece on top.
Step 5: Bake and Cool
- Bake for 12-15 minutes, just until the edges turn golden. The smell will fill your home with happiness.
- Let the cookies cool on a wire rack before dusting them with powdered sugar.
Expert Tips & Variations
- Chill Is Key: Cold dough means no spreading and beautifully shaped cookies.
- Creative Fillings: Try Nutella, lemon curd, or even peanut butter for fun twists.
- Decorating Fun: Drizzle melted chocolate or add festive sprinkles for holidays.