

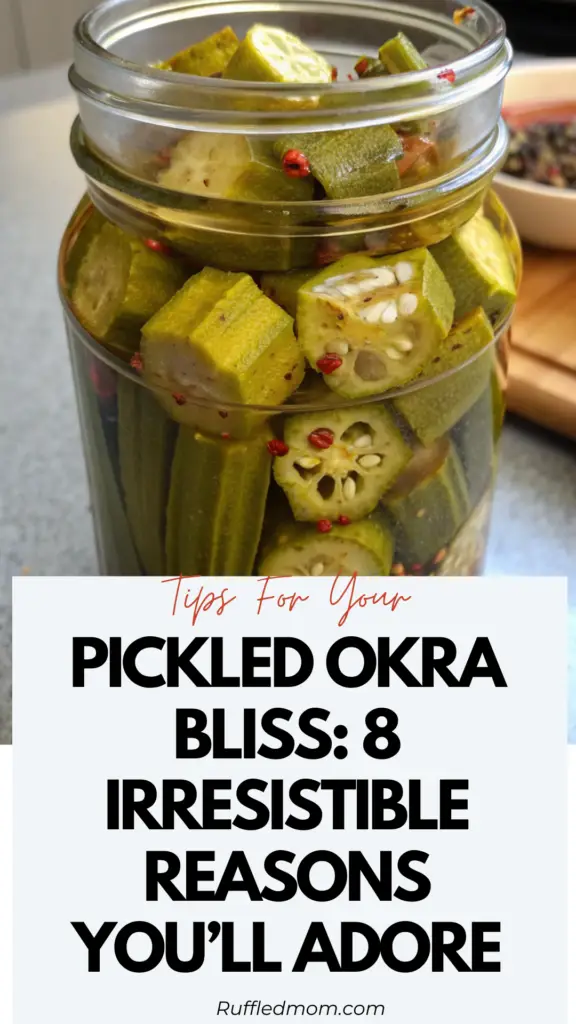
Pickled Okra Bliss:
Looking for something tangy, crisp, and full of character to brighten your meals? Pickled Okra is a timeless treat that turns a humble vegetable into a snack, side, or garnish that bursts with bold personality. With its vibrant green hue, satisfying crunch, and a briny kick that dances on your taste buds, it’s the jarred joy your pantry has been waiting for. Whether you’re serving it at a backyard barbecue or adding a pop of flavor to your weekday lunch, this classic is ready to shine.
Why You’ll Love Pickled Okra
- Quick & Simple – Ready in under an hour from prep to pantry.
- Crunch Perfection – Firm, snappy texture that keeps you coming back.
- Bright, Tangy Flavor – A zingy twist that enlivens every bite.
- Versatile Serving Options – Snack it, slice it, or spear it in cocktails.
- Southern Heritage – A tradition that’s as charming as it is delicious.
- Budget-Friendly – Simple ingredients, big results.
- Great for Gifting – A homemade jar of sunshine for friends and family.
- Keeps for Months – Long shelf life means joy on demand.
Ingredients You’ll Need
Here’s your all-star lineup for making sensational Pickled Okra:
- 1 lb fresh okra – Young, firm pods are best.
- 2 cups white vinegar – For that signature tang.
- 2 cups water – Keeps the brine balanced.
- ¼ cup canning or kosher salt – Essential for pickling.
- 2 tbsp sugar – Adds a subtle sweetness.
- 4 garlic cloves, peeled – Warm, savory undertone.
- 2 tsp dill seeds – A classic aromatic note.
- 2 tsp mustard seeds – Peppery, zesty depth.
- 1 tsp whole peppercorns – Fresh bite of flavor.
- 1 tsp red pepper flakes (optional) – For a gentle kick.
- 4 sprigs fresh dill – Adds freshness and visual appeal.
- 4 pint-sized canning jars with lids – For safe storage.
Tools to Make It Easy
- Large pot (for sterilizing jars and making brine)
- Tongs (to handle hot jars)
- Wide-mouth funnel (to pour brine without spills)
- Measuring cups & spoons (for accuracy)
- Clean kitchen towel (for wiping jar rims)
- Bubble remover or butter knife (to release trapped air)
- Labels & marker (for dating your jars)
Flavor Variations
The beauty of Pickled Okra is how easy it is to customize:
- Extra Spicy – Double the red pepper flakes or add fresh chili slices.
- Citrus-Infused – Add strips of lemon or orange peel to the brine.
- Herb Swap – Try rosemary, tarragon, or thyme for unique aromas.
- Sweet Southern – Increase sugar or add a spoonful of honey.
- Vinegar Twist – Substitute part of the white vinegar with apple cider vinegar for a softer tang.
Step-by-Step: How to Make Pickled Okra
1. Sterilize Your Jars
Place jars and lids in boiling water for 10 minutes. This ensures they’re clean and safe for preserving. Remove with tongs and place on a towel.
2. Prep the Okra
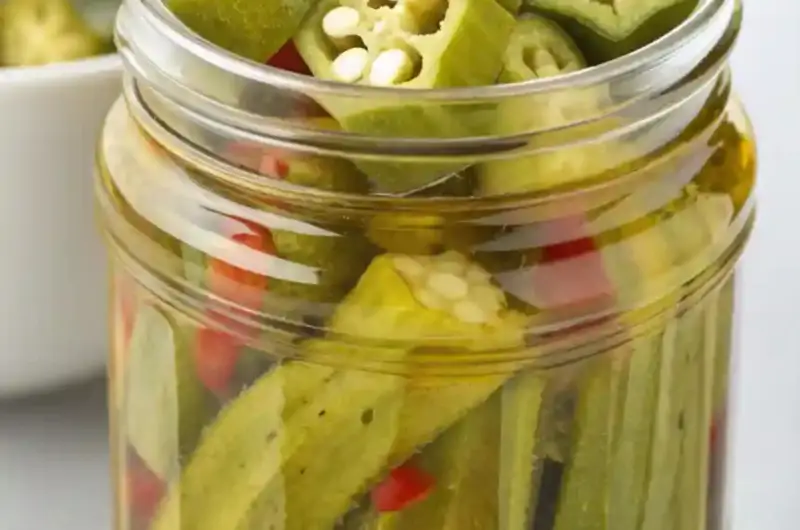
Wash and dry the pods thoroughly. Trim stems slightly but keep the caps intact for that iconic star-shaped cross-section.
3. Make the Brine
In a large pot, combine vinegar, water, salt, and sugar. Bring to a boil, stirring until salt and sugar dissolve.
4. Pack the Jars
In each jar, place garlic, dill seeds, mustard seeds, peppercorns, and red pepper flakes (if using). Stand the okra upright for a neat, attractive presentation.
5. Fill with Brine
Pour the hot brine over the okra, leaving about ½ inch of space at the top. Remove air bubbles with a knife or bubble remover.
6. Seal & Process
Wipe rims clean, secure lids, and process jars in boiling water for 10 minutes. This locks in freshness.
7. Cool & Store
Let jars cool undisturbed for 12–24 hours. Check seals before storing in a cool, dark place for up to a year.
Serving Ideas
Pickled Okra can elevate almost anything:
- Appetizer Platters – Pair with cheese, charcuterie, and olives.
- Cocktail Garnish – Perfect for Bloody Marys.
- Salad Topper – Adds crunch and tang.
- Southern Sides – Serve alongside fried chicken, cornbread, or barbecue.
- Quick Snack – Eat straight from the jar for a midday pick-me-up.
Pro Tips for Perfect Pickled Okra
- Choose young pods for maximum crunch.
- Pack jars tightly to keep okra from floating.
- Let jars rest for at least a week before eating for peak flavor.
- If your brine gets cloudy, switch to filtered water.
- Always sterilize jars to ensure food safety.
Storage & Shelf Life
Unopened jars keep in a cool, dark place for up to 12 months. Once opened, refrigerate and enjoy within 4 weeks. Always check seals before storing—lids should not flex when pressed.
Nutritional Benefits
Okra is naturally low in calories and high in vitamins A and C. Pickling retains much of its nutritional value while adding a flavorful punch. It’s a guilt-free way to enjoy a snack that’s both tasty and good for you.
Recipes make it with Pickled Okra
- Southern Pickled Okra Bloody Mary
- Pickled Okra & Cheese Board Appetizer
- Pickled Okra Potato Salad
- Spicy Pickled Okra Tuna Salad Wraps
- Fried Pickled Okra Bites
- Slow Cucumber Salad with Asian Flavors
- Slow Fig Balsamic Chicken – A Sweet & Savory Autumn Favorite
FAQs About Pickled Okra
Q: Can I use frozen okra?
Yes, but thaw completely and drain well before pickling. Texture may be softer.
Q: How do I prevent sliminess?
Use firm, young pods and a vinegar-rich brine. Thorough drying helps, too.
Q: Is pickled okra spicy?
Only if you want it to be! Adjust red pepper flakes to taste.
Q: Can I reuse leftover brine?
Yes—try pickling carrots, green beans, or cauliflower in it.
Final Bite
Pickled Okra is more than just a Southern tradition—it’s a celebration in a jar. From its crunchy texture to its tangy charm, it’s a versatile snack and side you’ll want to make again and again. Whether you’re a first-time pickler or a seasoned home canner, this recipe will reward you with jars of green, zesty goodness that brighten any meal.
So grab your okra, roll up your sleeves, and let the briny magic begin!
Pickled Okra Bliss: 8 Irresistible Reasons You’ll Adore This Zesty Southern Classic
Course: Appetizers4
servings30
minutes300
kcalIngredients
1 lb fresh okra – Young, firm pods are best.
2 cups white vinegar – For that signature tang.
2 cups water – Keeps the brine balanced.
¼ cup canning or kosher salt – Essential for pickling.
2 tbsp sugar – Adds a subtle sweetness.
4 garlic cloves, peeled – Warm, savory undertone.
2 tsp dill seeds – A classic aromatic note.
2 tsp mustard seeds – Peppery, zesty depth.
1 tsp whole peppercorns – Fresh bite of flavor.
1 tsp red pepper flakes (optional) – For a gentle kick.
4 sprigs fresh dill – Adds freshness and visual appeal.
4 pint-sized canning jars with lids – For safe storage.
Directions
- Step-by-Step: How to Make Pickled Okra
1. Sterilize Your Jars
Place jars and lids in boiling water for 10 minutes. This ensures they’re clean and safe for preserving. Remove with tongs and place on a towel.
2. Prep the Okra
Wash and dry the pods thoroughly. Trim stems slightly but keep the caps intact for that iconic star-shaped cross-section.
3. Make the Brine
In a large pot, combine vinegar, water, salt, and sugar. Bring to a boil, stirring until salt and sugar dissolve.
4. Pack the Jars
In each jar, place garlic, dill seeds, mustard seeds, peppercorns, and red pepper flakes (if using). Stand the okra upright for a neat, attractive presentation.
5. Fill with Brine
Pour the hot brine over the okra, leaving about ½ inch of space at the top. Remove air bubbles with a knife or bubble remover.
6. Seal & Process
Wipe rims clean, secure lids, and process jars in boiling water for 10 minutes. This locks in freshness.
7. Cool & Store
Let jars cool undisturbed for 12–24 hours. Check seals before storing in a cool, dark place for up to a year.