
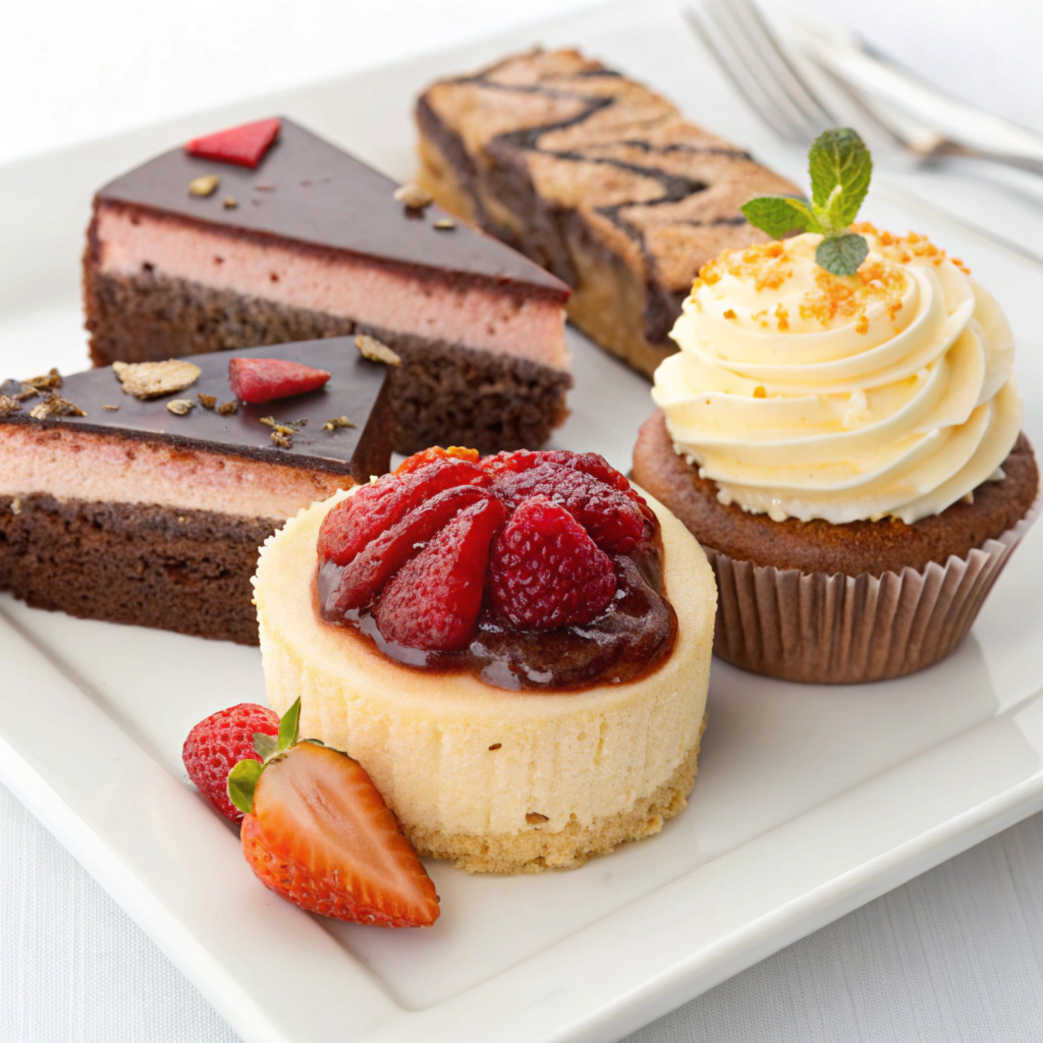
There’s something magical about biting into a dessert that melts in your mouth, bursts with flavor, and satisfies your sweet tooth. But for those who are gluten-intolerant or simply avoiding gluten, finding desserts that don’t taste like cardboard can feel like a daunting task. That’s where this guide comes in. Let’s explore gluten-free desserts that taste just like the real thing—or dare I say, even better!
Who Is This Recipe For?
This recipe is a game-changer for anyone who craves delicious desserts without the gluten. Whether you have celiac disease, gluten sensitivity, or are just exploring gluten-free options for a healthier lifestyle, these desserts are for you. Even skeptics who typically turn their noses up at gluten-free treats will be pleasantly surprised by the flavor and texture.
Why This Recipe Stands Out
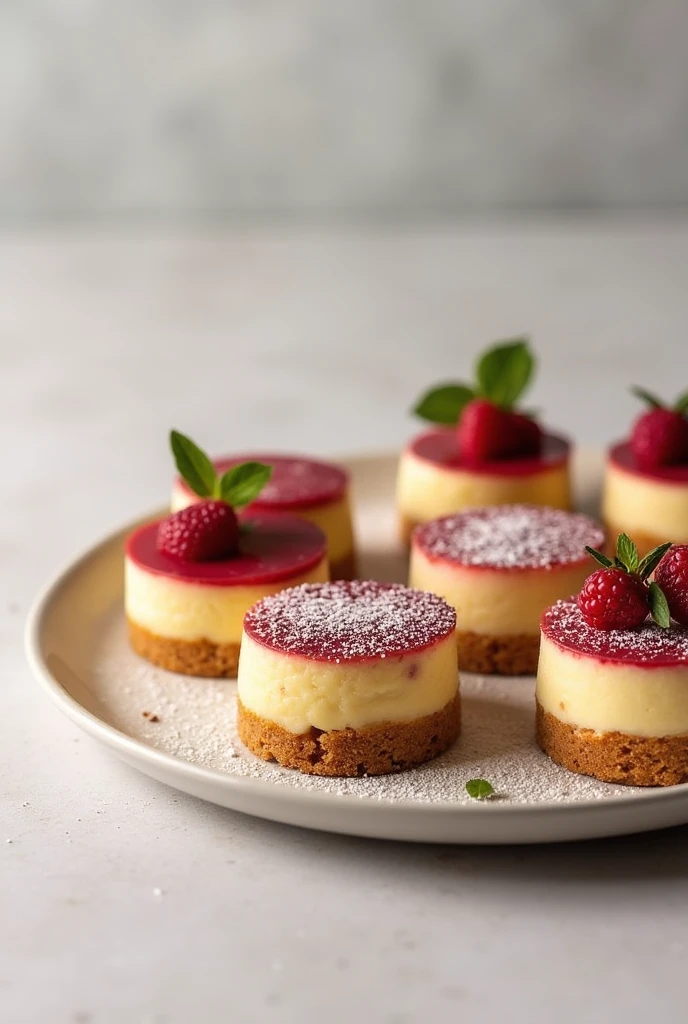
What sets these gluten-free desserts apart is their uncanny resemblance to their gluten-laden counterparts. By carefully selecting the best ingredients and following foolproof techniques, these recipes promise rich flavors, moist textures, and a satisfying experience. Plus, they’re straightforward to prepare, making them perfect for both novice and seasoned bakers.
Kitchen Equipment Needed
To get started, you’ll need the following tools:
- Mixing bowls (various sizes)
- Electric mixer or whisk
- Measuring cups and spoons
- Silicone spatula
- Baking pans (8-inch or 9-inch round)
- Parchment paper
- Cooling rack
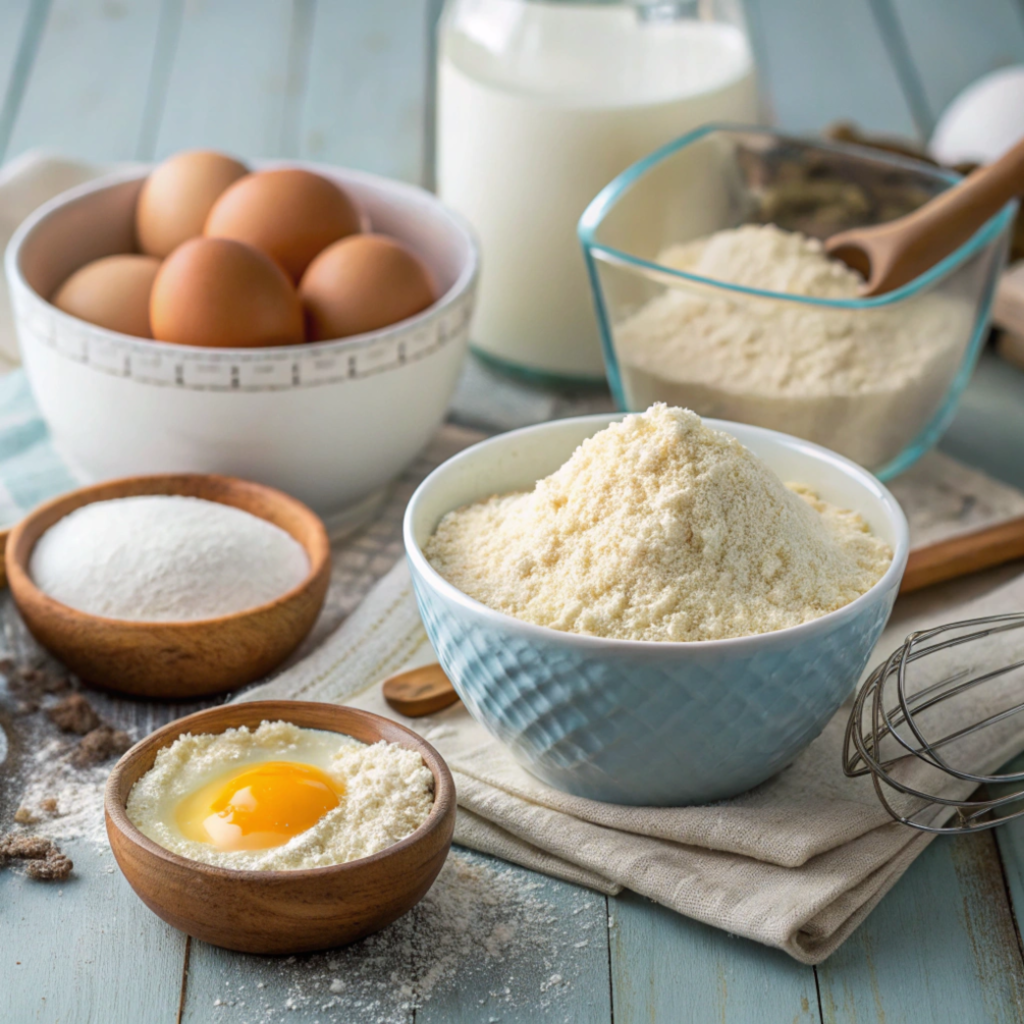
Ingredients for Success
Here’s what you’ll need for the base recipe:
- 1 cup gluten-free all-purpose flour (with xanthan gum)
- ½ teaspoon baking powder
- ½ teaspoon baking soda
- ¼ teaspoon salt
- ½ cup unsalted butter (or dairy-free alternative)
- ¾ cup granulated sugar
- 2 large eggs (or flaxseed eggs for vegan option)
- 1 teaspoon vanilla extract
- ½ cup milk (or almond milk)
Step-by-Step Instructions
- Prep Your Ingredients
- Preheat the oven to 350°F (175°C) and line your baking pan with parchment paper.
- Measure all ingredients accurately. Gluten-free baking requires precision.
- Mix the Dry Ingredients
- In a medium bowl, whisk together gluten-free flour, baking powder, baking soda, and salt.
- Cream the Butter and Sugar
- In a large bowl, use an electric mixer to cream butter and sugar until light and fluffy.
- Add the Wet Ingredients
- Beat in eggs one at a time, followed by vanilla extract. Gradually add the milk.
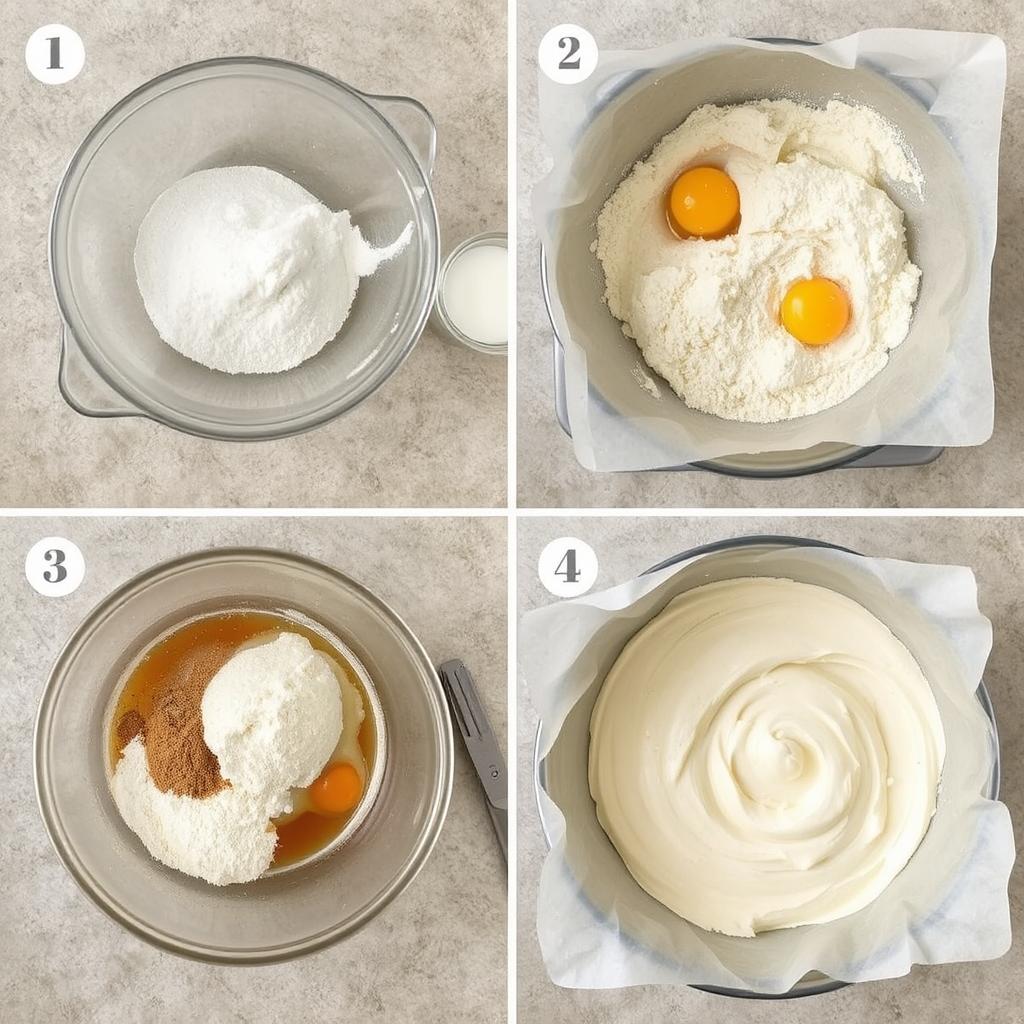
- Combine Wet and Dry Ingredients
- Slowly mix the dry ingredients into the wet ingredients, stirring until just combined.
- Bake to Perfection
- Pour the batter into the prepared pan and bake for 25-30 minutes or until a toothpick comes out clean.
- Cool and Decorate
- Let the dessert cool completely before frosting or serving.
Tips for Perfect Gluten-Free Desserts
- Don’t Overmix: Overmixing can make the batter dense.
- Moisture Matters: Gluten-free flours absorb more liquid, so don’t skimp on wet ingredients.
- Let It Rest: Allowing the batter to sit for 10 minutes before baking can improve texture.
Recipe Swaps and Variations
- Dairy-Free: Use coconut oil or vegan butter instead of regular butter.
- Vegan: Replace eggs with flaxseed eggs (1 tablespoon ground flaxseed + 3 tablespoons water per egg).
- Flavor Additions: Mix in chocolate chips, nuts, or dried fruit for variety.
Storage Tips
- Room Temperature: Store leftovers in an airtight container for up to 3 days.
- Freezing: Wrap tightly in plastic wrap and foil, then freeze for up to 2 months.
- Reheating: Thaw at room temperature or warm in a 300°F oven for 5-10 minutes.
Food and Drink Pairings
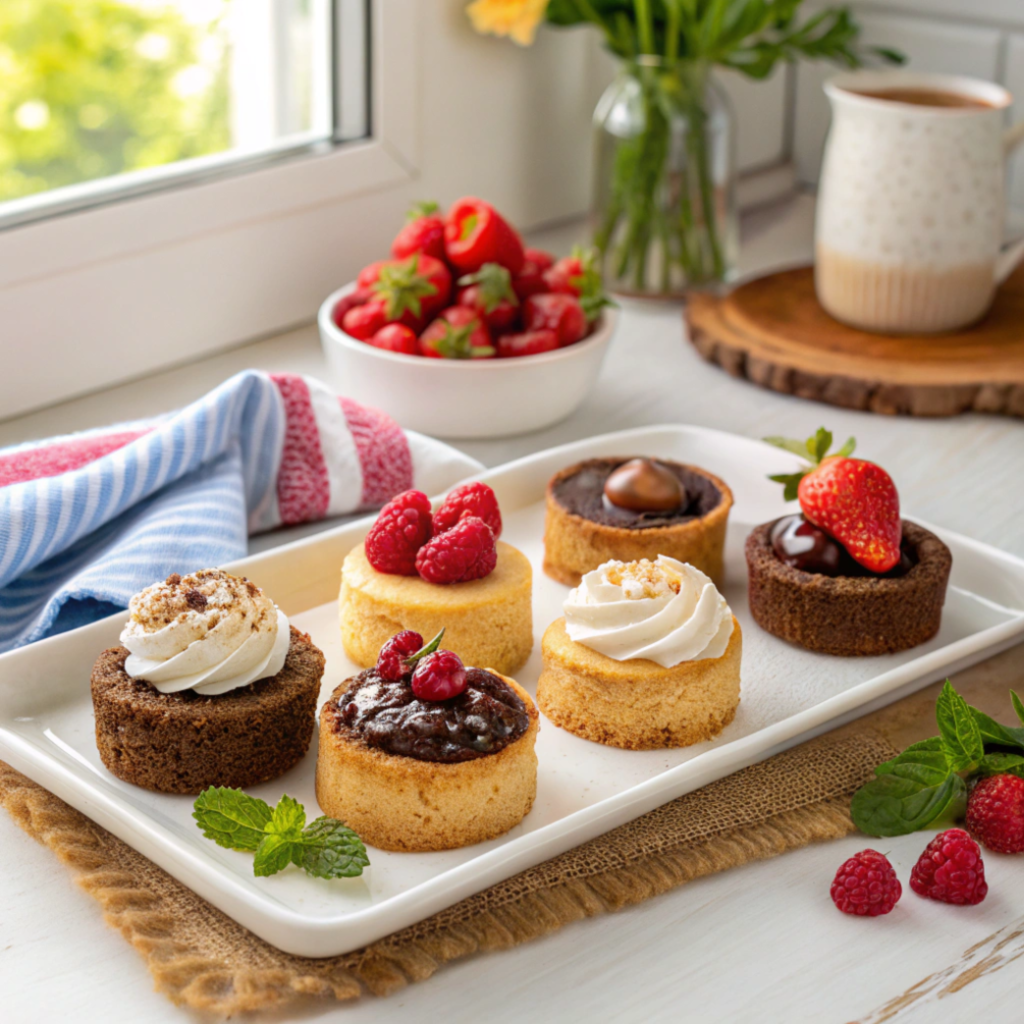
Pair these desserts with:
- A hot cup of coffee or tea
- A chilled glass of almond milk
- Fresh berries or a dollop of whipped cream
Nutritional Benefits of Gluten-Free Baking
- Often lower in refined carbs
- Easier on the digestive system
- Great for those with gluten intolerance
FAQs About Gluten-Free Desserts
- What makes a dessert gluten-free?
- It must use gluten-free flours and avoid cross-contamination.
- Why does gluten-free baking require xanthan gum?
- It mimics the binding properties of gluten, improving texture.
- Can I use regular flour in this recipe?
- No, regular flour will alter the texture and isn’t gluten-free.
- What’s the best gluten-free flour to use?
- A high-quality gluten-free all-purpose blend with xanthan gum works best.
- How can I make gluten-free desserts fluffier?
- Use room-temperature ingredients and don’t overmix the batter.
Call to Action
Now that you’re equipped with all the tips and tricks for making the best gluten-free desserts, it’s time to get baking! If you loved this recipe, please share it with your friends and family. Don’t forget to subscribe to our blog for more delicious gluten-free recipes and baking inspiration. Happy baking!