

The holidays are such a special time for creating joyful memories with family, and nothing brings that magic to life quite like baking together. One of my favorite traditions as a mom is making Candy Cane Cookies. These festive cookies, with their cheerful red and white stripes and a touch of peppermint, are the perfect way to spread holiday cheer. Whether I’m baking them for a family gathering, a cookie exchange, or just to fill our home with that warm, Christmassy aroma, these cookies always make the season feel extra magical.
Why You’ll Love These Candy Cane Cookies
Candy Cane Cookies are perfect for anyone who loves a classic holiday treat with a touch of whimsy. They’re visually stunning, making them a hit at holiday parties or as a thoughtful gift. Plus, they’re as delicious as they are beautiful. With a buttery base and just the right amount of peppermint flavor, these cookies strike the perfect balance of taste and festivity.
This recipe is approachable for bakers of all skill levels. With a bit of patience and creativity, you’ll create cookies that look and taste like they came straight from Santa’s workshop.
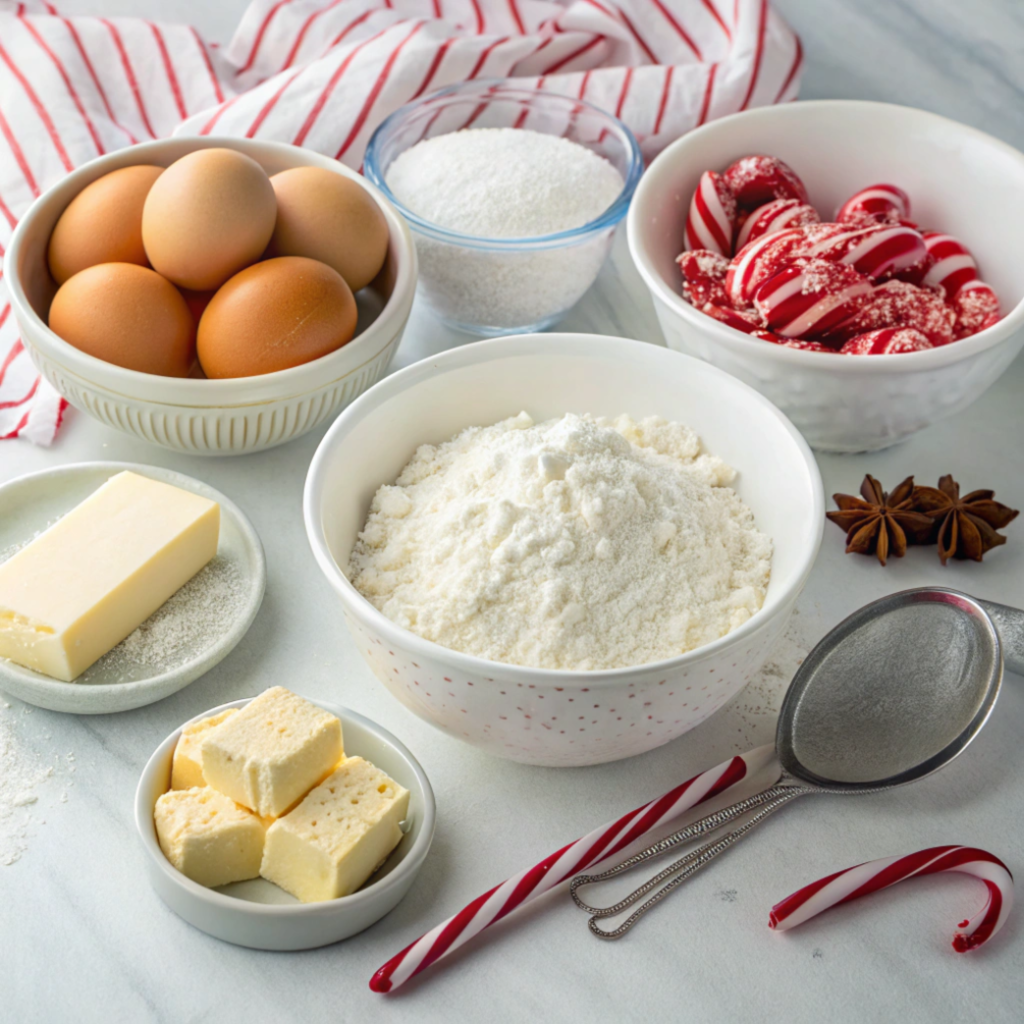
Ingredients for Candy Cane Cookies
Here’s what you’ll need:
- 1 cup unsalted butter, softened
- 1 cup powdered sugar
- 1 large egg
- 1 teaspoon vanilla extract
- 1/2 teaspoon peppermint extract
- 2 1/2 cups all-purpose flour
- 1/4 teaspoon salt
- Red food coloring
- Crushed candy canes (optional, for garnish)
Kitchen Equipment Needed
- Mixing bowls
- Electric mixer
- Measuring cups and spoons
- Plastic wrap
- Baking sheets
- Parchment paper or silicone baking mats
- Rolling pin
- Spatula
Directions for Making Candy Cane Cookies
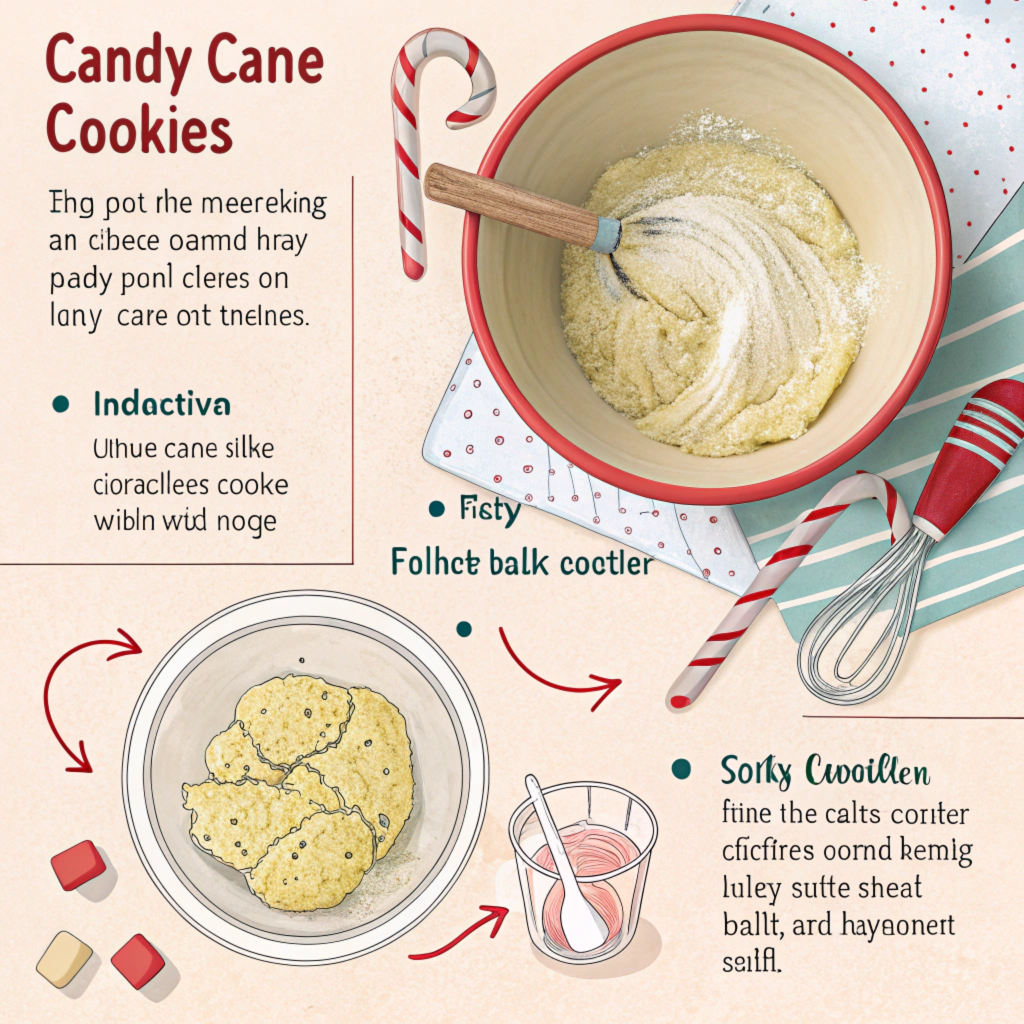
1. Prepare the Dough
- In a large mixing bowl, cream together the butter and powdered sugar until light and fluffy.
- Beat in the egg, vanilla extract, and peppermint extract until fully combined.
- Gradually add the flour and salt, mixing until a soft dough forms.
2. Color and Chill the Dough
- Divide the dough in half. Leave one half plain and tint the other half with red food coloring until the desired shade is reached.
- Wrap each portion of dough in plastic wrap and refrigerate for at least 30 minutes. Chilling the dough makes it easier to shape.
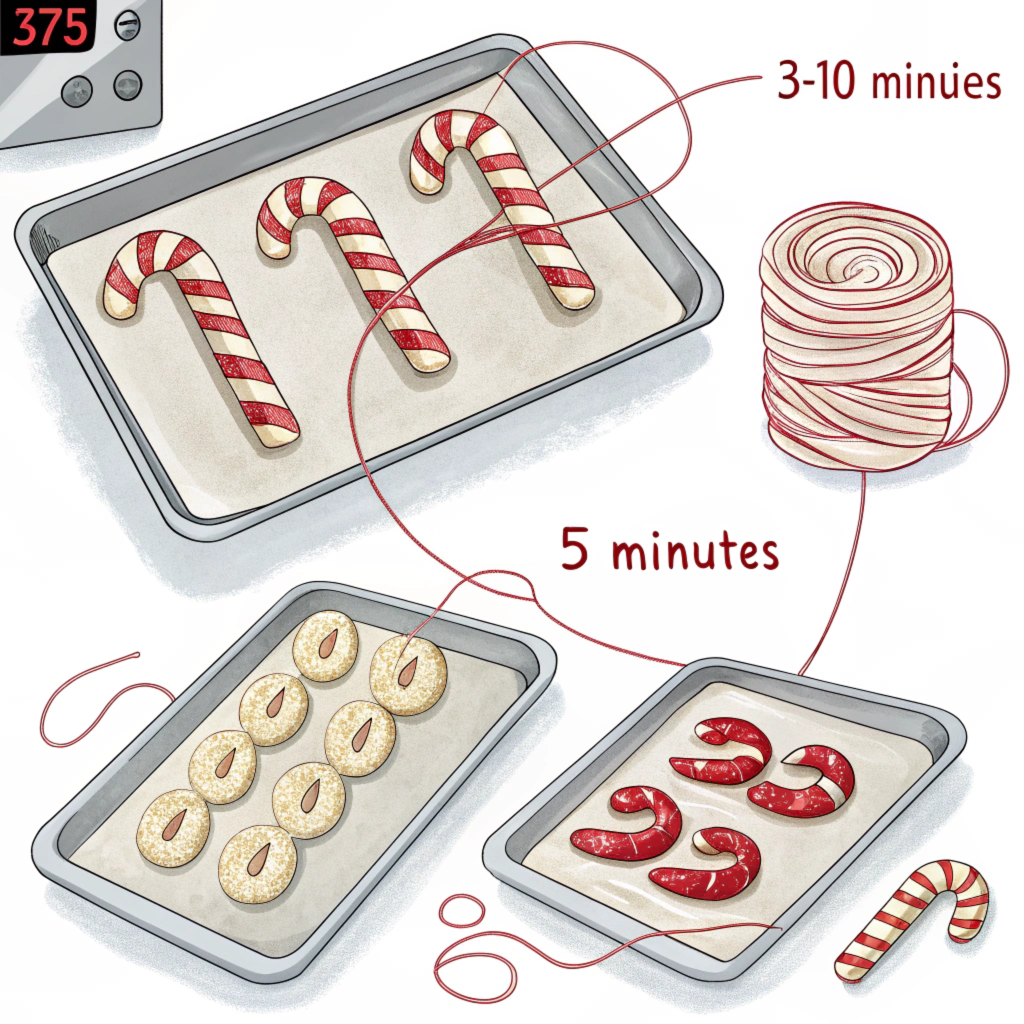
3. Shape the Candy Canes
- Preheat your oven to 375°F (190°C) and line baking sheets with parchment paper.
- Roll small pieces of each color of dough into ropes about 4 inches long.
- Twist one white rope and one red rope together, then shape into a candy cane.
- Place the shaped cookies on the prepared baking sheets, spacing them about 2 inches apart.
4. Bake and Cool
- Bake the cookies for 8-10 minutes, or until the edges are just beginning to turn golden. Avoid overbaking to keep the cookies soft.
- Let the cookies cool on the baking sheet for 5 minutes before transferring them to a wire rack to cool completely.
- Optional: While the cookies are still warm, sprinkle them with crushed candy canes for extra holiday flair.
Tips for Perfect Candy Cane Cookies
- Chill the Dough: Chilling is crucial for easier shaping and to prevent spreading during baking.
- Use Gel Food Coloring: Gel food coloring provides vibrant colors without altering the dough’s consistency.
- Work in Small Batches: If the dough becomes too soft while shaping, return it to the fridge for a few minutes.
- Avoid Overmixing: Overmixing the dough can make the cookies tough.
Recipe Variations and Swaps
- Flavor Variations: Swap the peppermint extract for almond or vanilla extract if you prefer a different flavor.
- Color Options: Experiment with different colors to match other holidays or themes, like green and red for Christmas or pastels for Easter.
- Gluten-Free: Use a 1:1 gluten-free baking flour substitute for a gluten-free version.
Storing and Freezing Candy Cane Cookies
Storing Leftovers
Store the cookies in an airtight container at room temperature for up to one week. To maintain their freshness, place a piece of parchment paper between layers to prevent sticking.
Freezing Tips
- Unbaked Dough: Wrap the dough tightly in plastic wrap and freeze for up to three months. Thaw in the refrigerator before shaping and baking.
- Baked Cookies: Freeze baked cookies in a single layer on a baking sheet before transferring them to a freezer-safe container. They’ll keep for up to two months. Thaw at room temperature before serving.
Food and Drink Pairings
- Hot Chocolate: Pair these cookies with a steaming cup of hot chocolate for a cozy winter treat.
- Milk: A classic glass of milk is always a great choice.
- Peppermint Tea: Enhance the peppermint flavor with a cup of peppermint tea.
Frequently Asked Questions
Can I make the dough ahead of time?
Yes! The dough can be made up to three days in advance and stored in the refrigerator. Just let it sit at room temperature for a few minutes before shaping.
Can I double the recipe?
Absolutely! This recipe doubles well, making it ideal for large gatherings or gift-giving.
What if I don’t have peppermint extract?
You can omit the peppermint extract or replace it with vanilla extract for a milder flavor.
Why did my cookies spread too much?
If your cookies spread, the dough may not have been chilled enough, or your baking sheets were too warm. Ensure your dough is properly chilled and use room-temperature baking sheets.
Share the Joy of Candy Cane Cookies
These Candy Cane Cookies are a festive delight that’s sure to become a holiday favorite. Whether you’re an experienced baker or trying your hand at holiday cookies for the first time, this recipe is a fun and rewarding project. If you loved this recipe, share it with your friends and family, and don’t forget to subscribe to our blog for more festive recipes and baking tips. Happy holidays and happy baking!

Candy Cane Cookies Recipe: A Festive Treat for the Holidays
Equipment
- Mixing bowls
- Electric mixer
- Measuring cups and spoons
- Plastic wrap
- Baking sheets
- Parchment paper or silicone baking mats
- Rolling Pin
- Spatula
Ingredients
- 1 cup unsalted butter, softened
- 1 cup powdered sugar
- 1 large egg
- 1 teaspoon vanilla extract
- 1/2 teaspoon peppermint extract
- 2 1/2 cups all-purpose flour
- 1/4 teaspoon salt
- Red food coloring
- Crushed candy canes (optional, for garnish)
Instructions
- Directions for Making Candy Cane Cookies1. Prepare the DoughIn a large mixing bowl, cream together the butter and powdered sugar until light and fluffy.Beat in the egg, vanilla extract, and peppermint extract until fully combined.Gradually add the flour and salt, mixing until a soft dough forms.Divide the dough in half. Leave one half plain and tint the other half with red food coloring until the desired shade is reached.Wrap each portion of dough in plastic wrap and refrigerate for at least 30 minutes. Chilling the dough makes it easier to shape.Preheat your oven to 375°F (190°C) and line baking sheets with parchment paper.Roll small pieces of each color of dough into ropes about 4 inches long.Twist one white rope and one red rope together, then shape into a candy cane.Place the shaped cookies on the prepared baking sheets, spacing them about 2 inches apart.Bake the cookies for 8-10 minutes, or until the edges are just beginning to turn golden. Avoid overbaking to keep the cookies soft.Let the cookies cool on the baking sheet for 5 minutes before transferring them to a wire rack to cool completely.Optional: While the cookies are still warm, sprinkle them with crushed candy canes for extra holiday flair.Chill the Dough: Chilling is crucial for easier shaping and to prevent spreading during baking.Use Gel Food Coloring: Gel food coloring provides vibrant colors without altering the dough’s consistency.Work in Small Batches: If the dough becomes too soft while shaping, return it to the fridge for a few minutes.Avoid Overmixing: Overmixing the dough can make the cookies tough.Flavor Variations: Swap the peppermint extract for almond or vanilla extract if you prefer a different flavor.Color Options: Experiment with different colors to match other holidays or themes, like green and red for Christmas or pastels for Easter.Gluten-Free: Use a 1:1 gluten-free baking flour substitute for a gluten-free version.Store the cookies in an airtight container at room temperature for up to one week. To maintain their freshness, place a piece of parchment paper between layers to prevent sticking.Unbaked Dough: Wrap the dough tightly in plastic wrap and freeze for up to three months. Thaw in the refrigerator before shaping and baking.Baked Cookies: Freeze baked cookies in a single layer on a baking sheet before transferring them to a freezer-safe container. They’ll keep for up to two months. Thaw at room temperature before serving.Hot Chocolate: Pair these cookies with a steaming cup of hot chocolate for a cozy winter treat.Milk: A classic glass of milk is always a great choice.Peppermint Tea: Enhance the peppermint flavor with a cup of peppermint tea.2. Color and Chill the Dough3. Shape the Candy Canes4. Bake and CoolTips for Perfect Candy Cane CookiesRecipe Variations and SwapsStoring and Freezing Candy Cane CookiesStoring LeftoversFreezing TipsFood and Drink Pairings
[…] Candy Cane Cookies – The Kitchen is My Playground […]
thank you 😇🤝